Wall Mounted Electric Radiators include amazing energy-saving features while bringing warmth and style to your home. These modern radiators save space and blend perfectly with your décor. Enjoy efficient heating and lower energy bills.
Showing 1–12 of 103 results
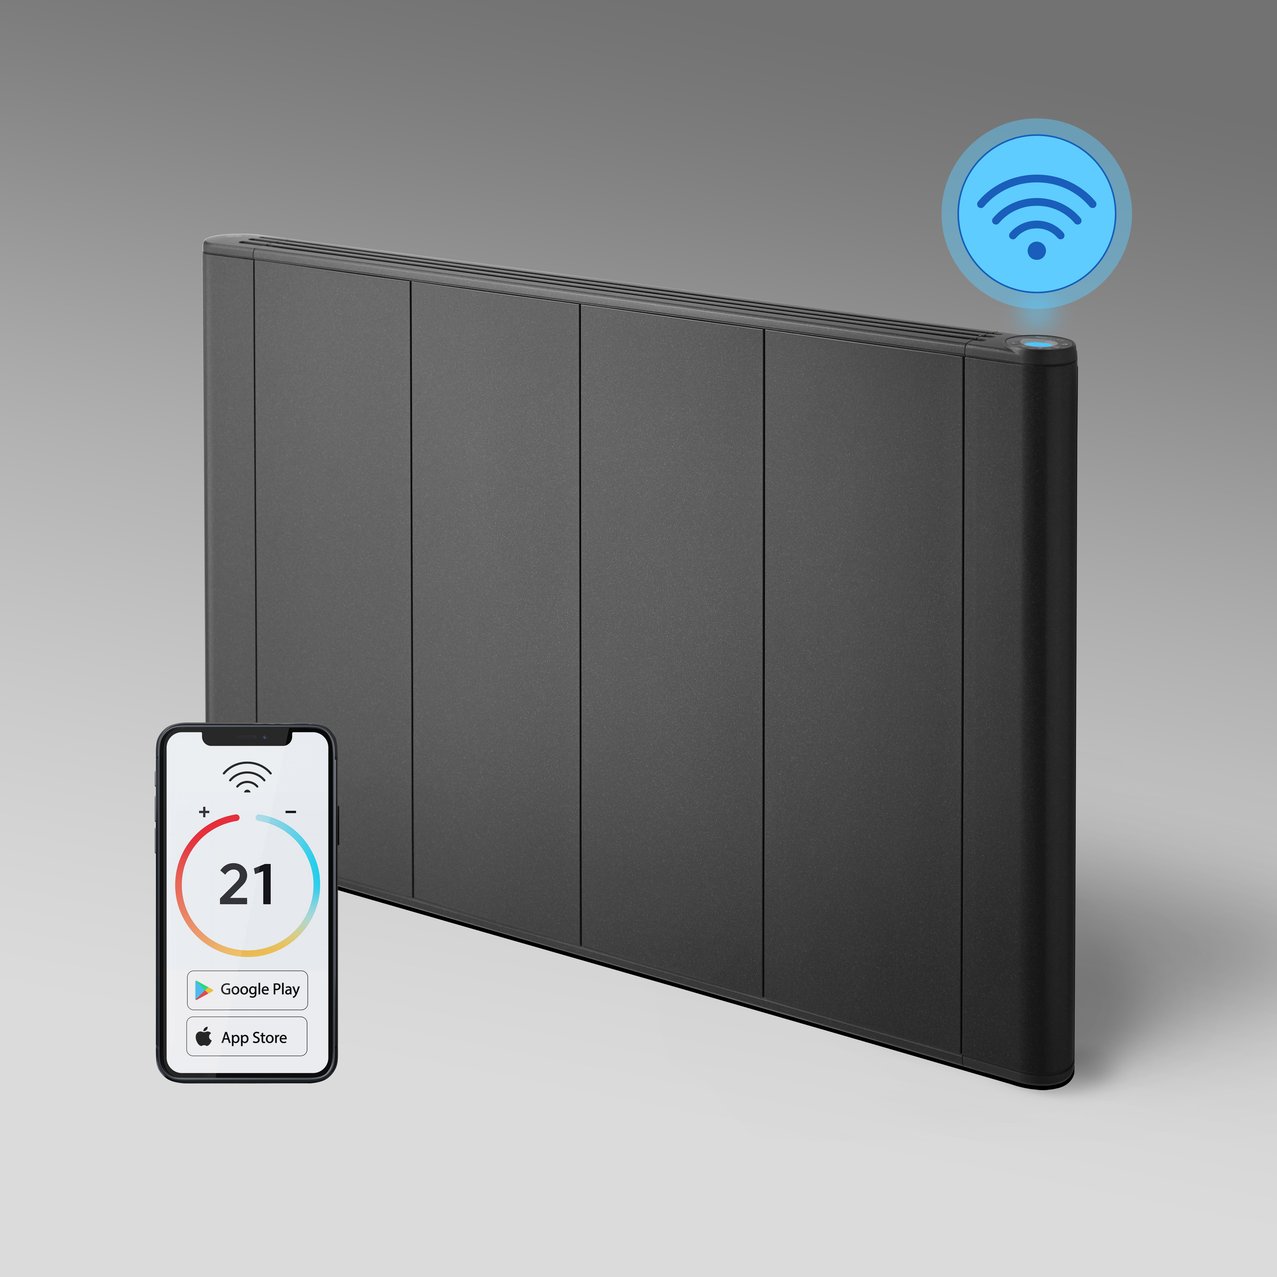
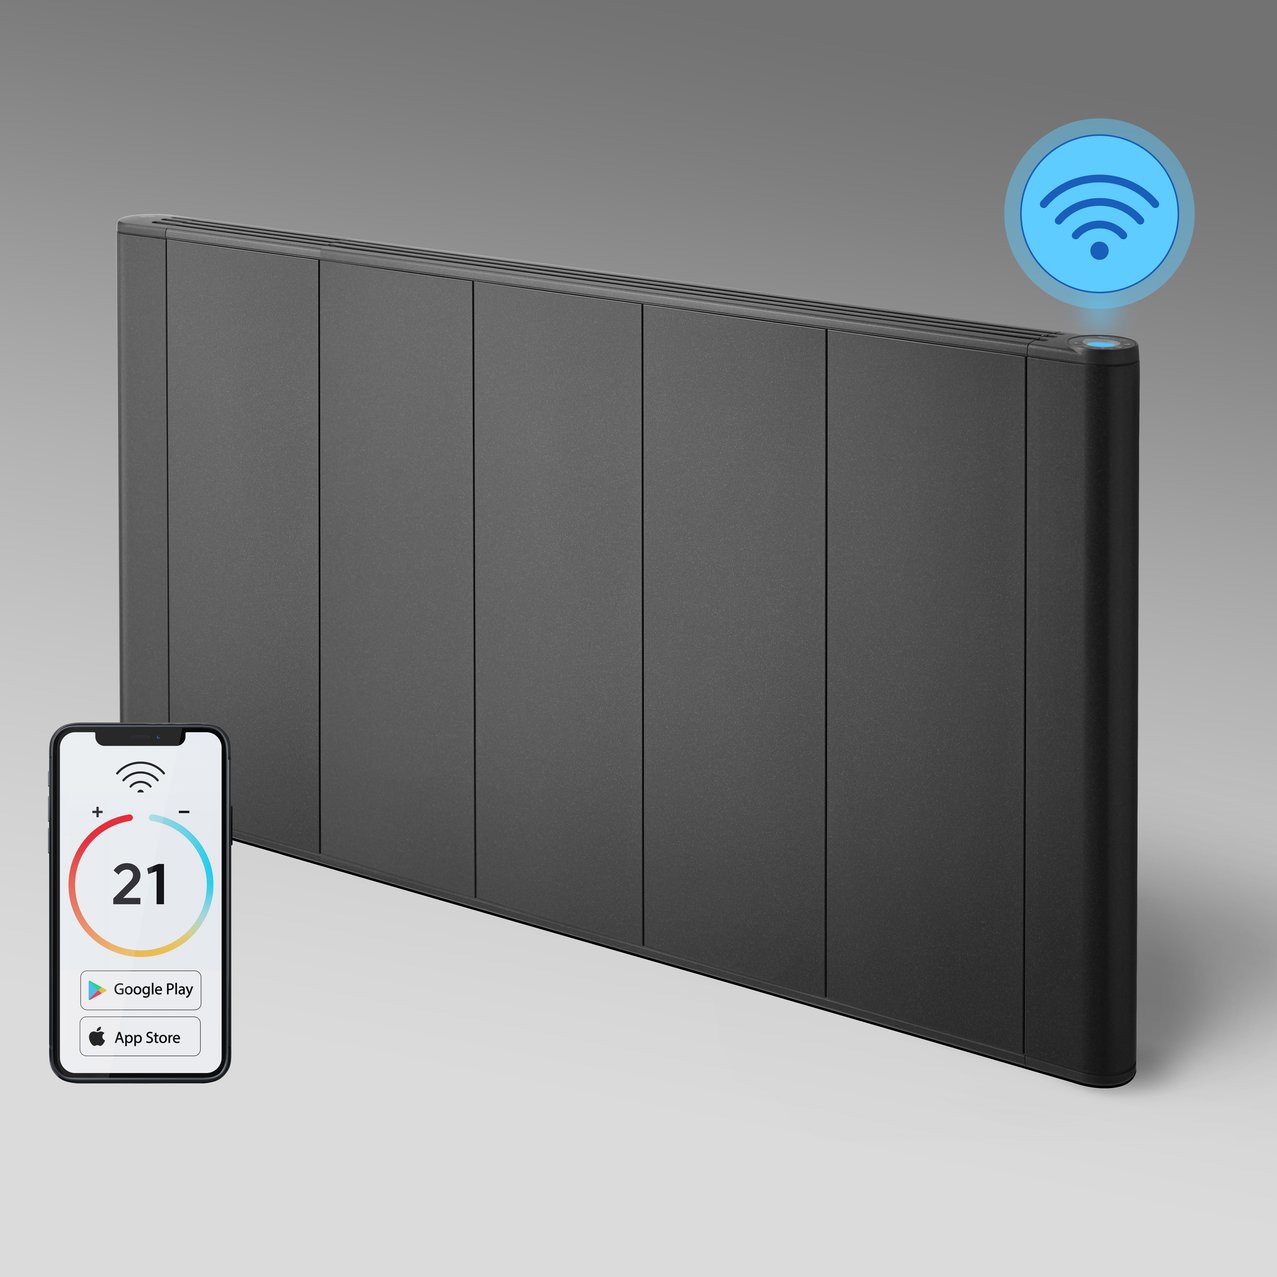
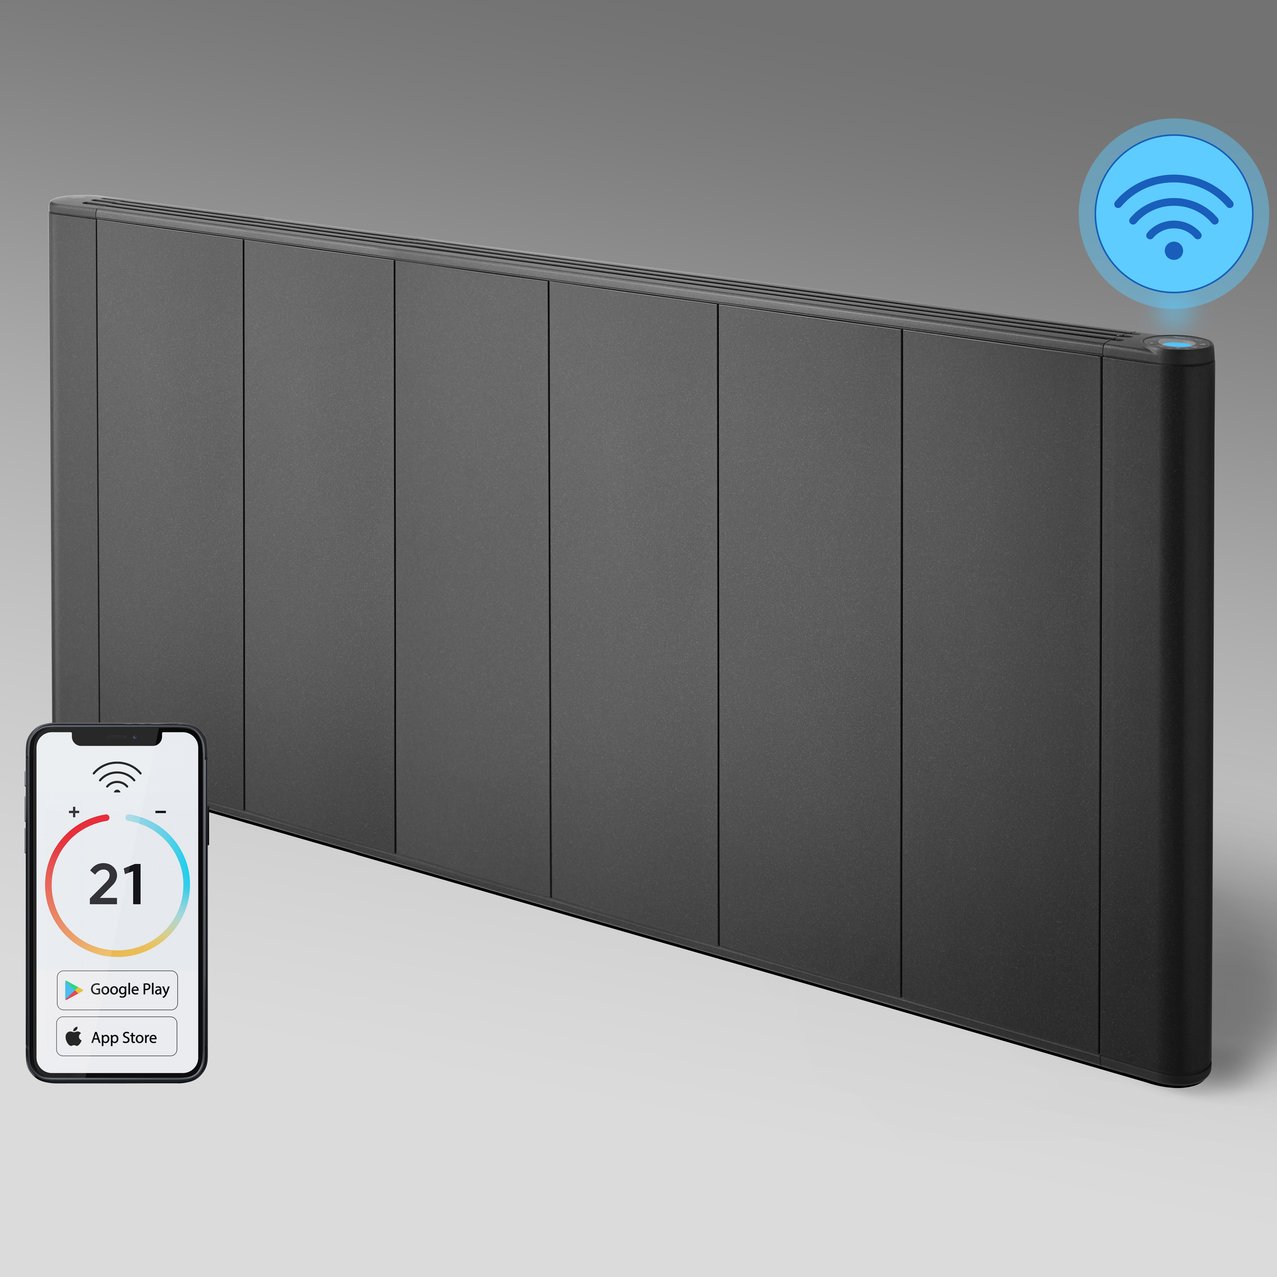
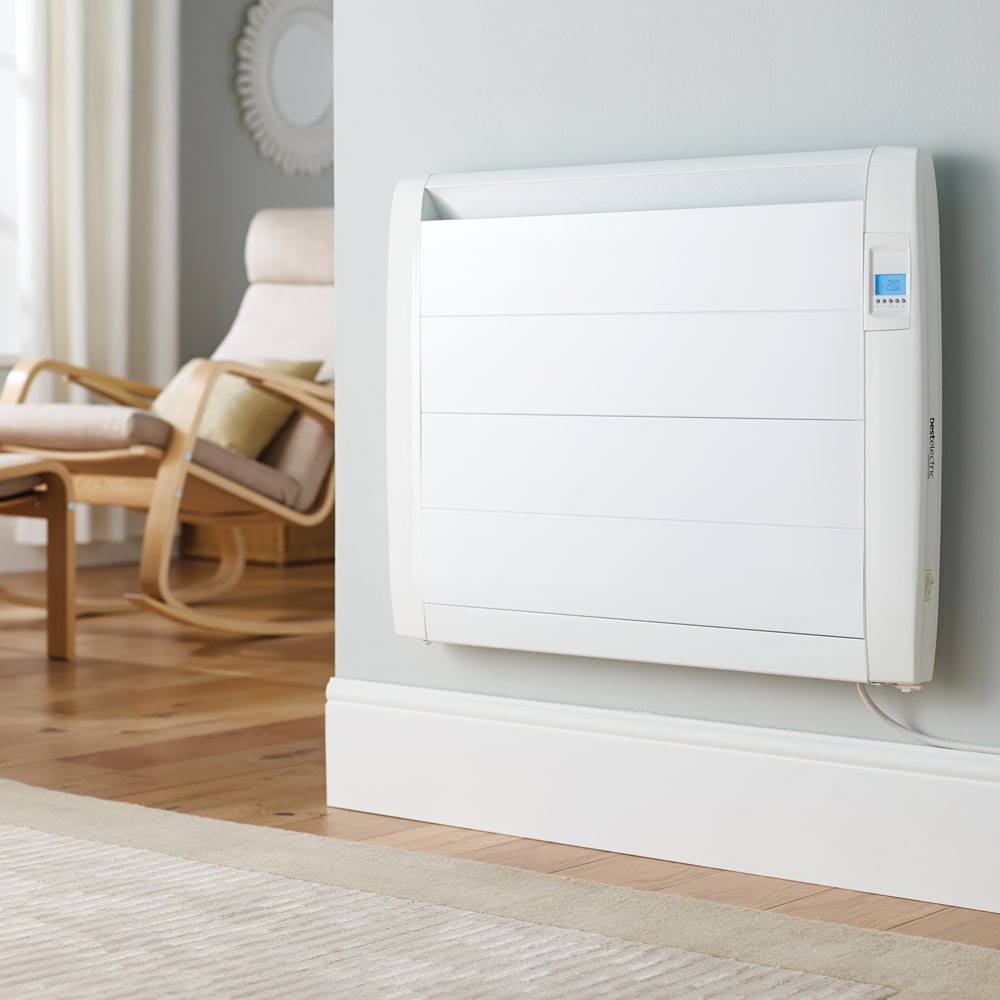
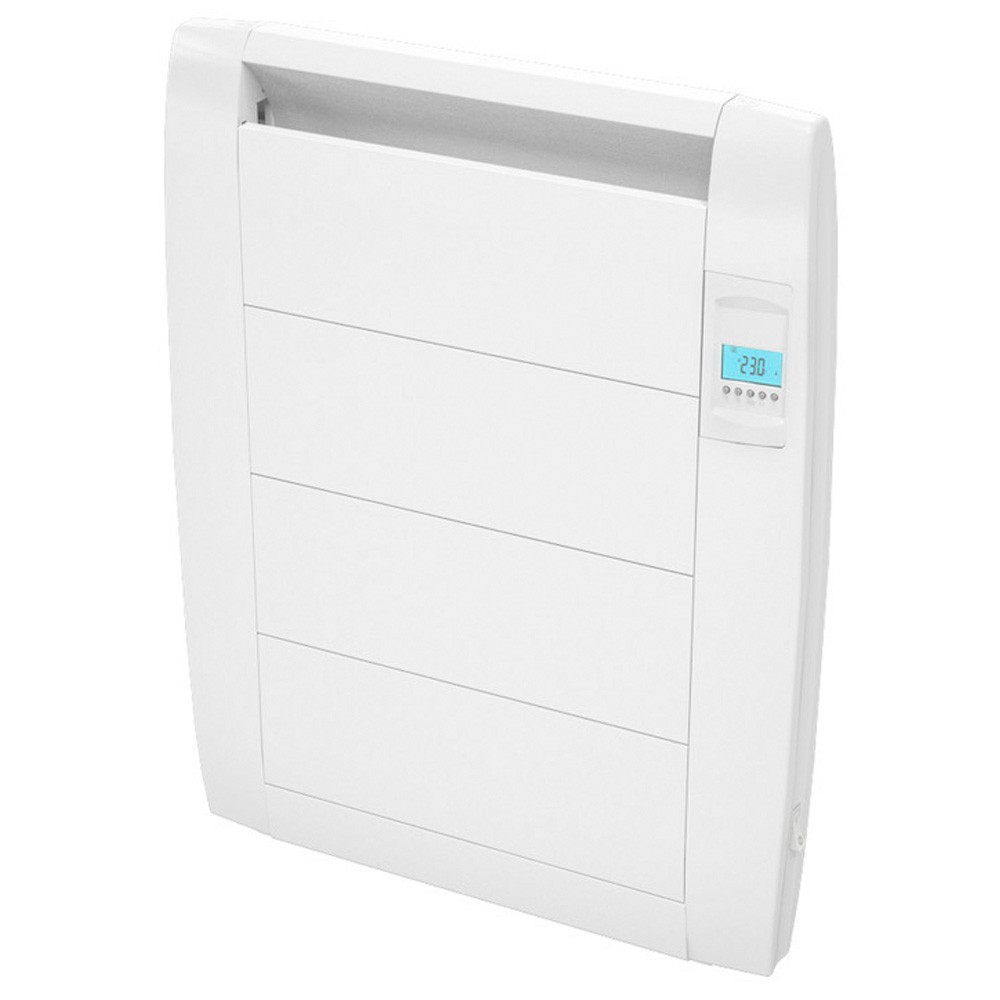
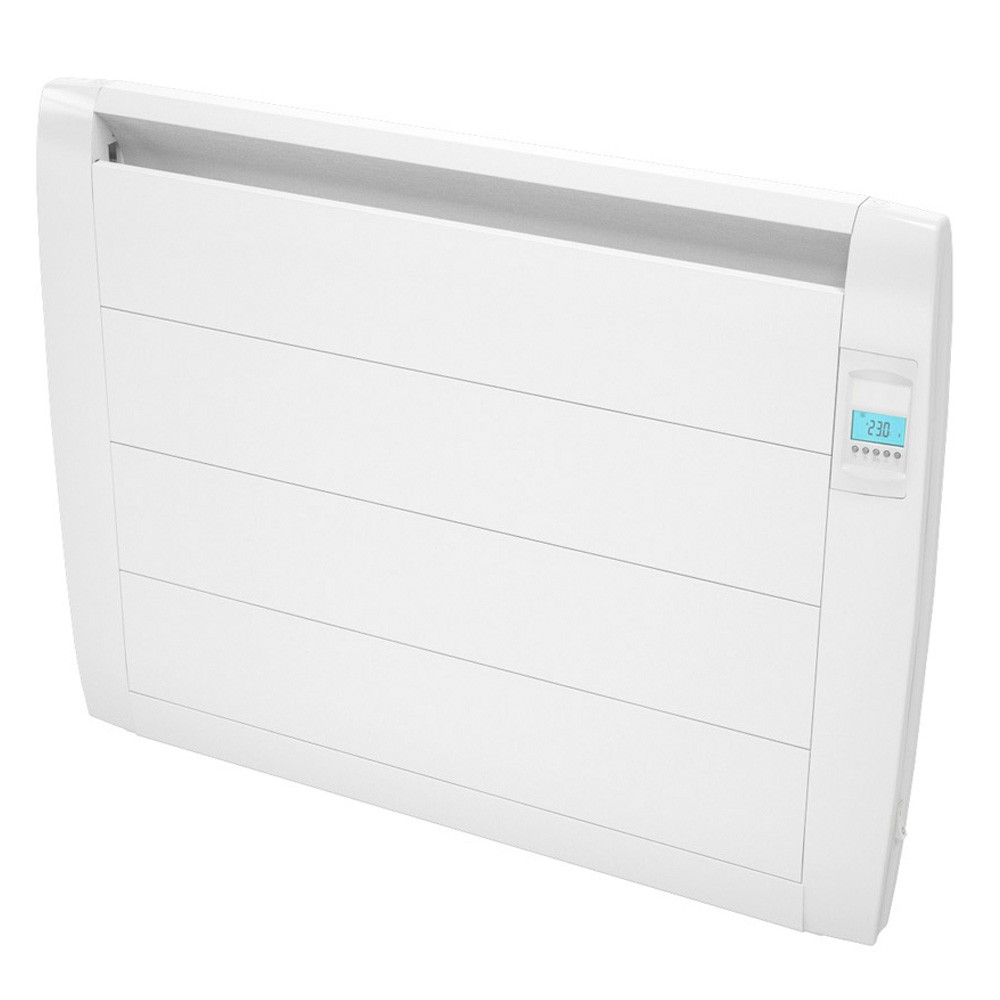
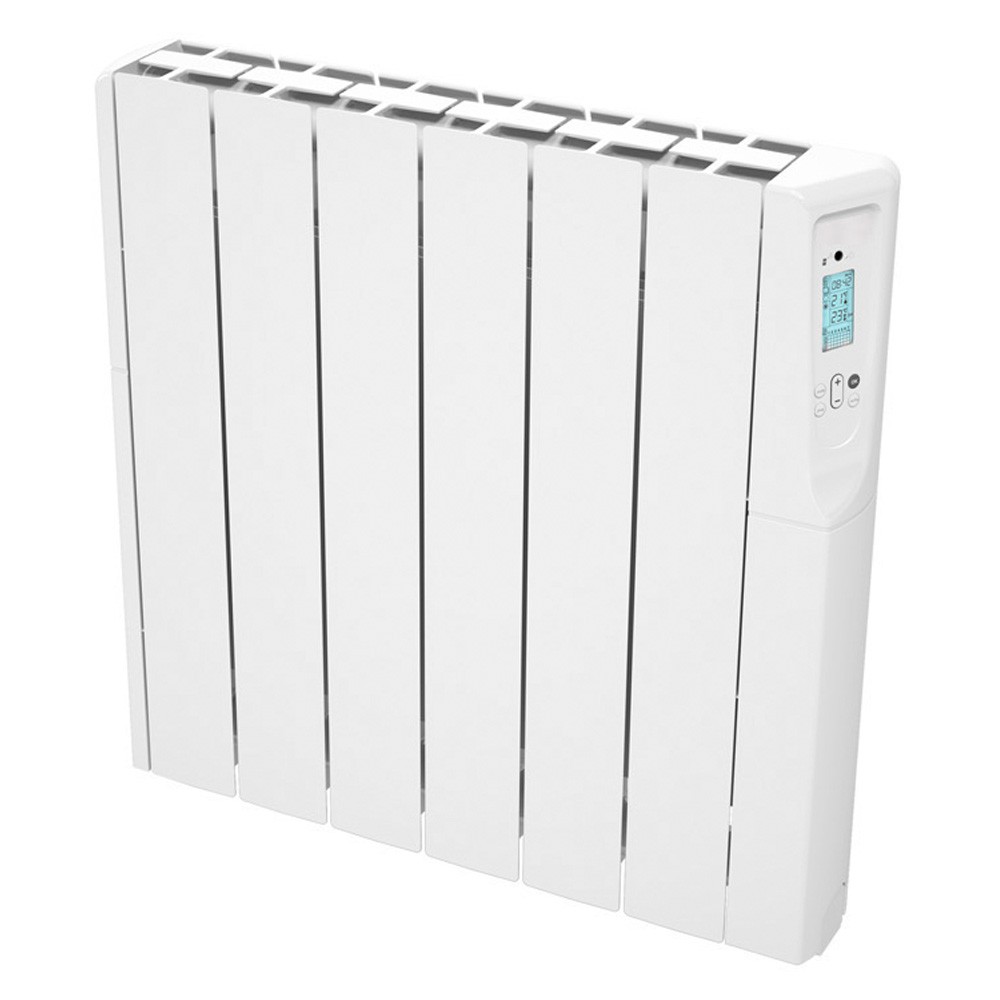
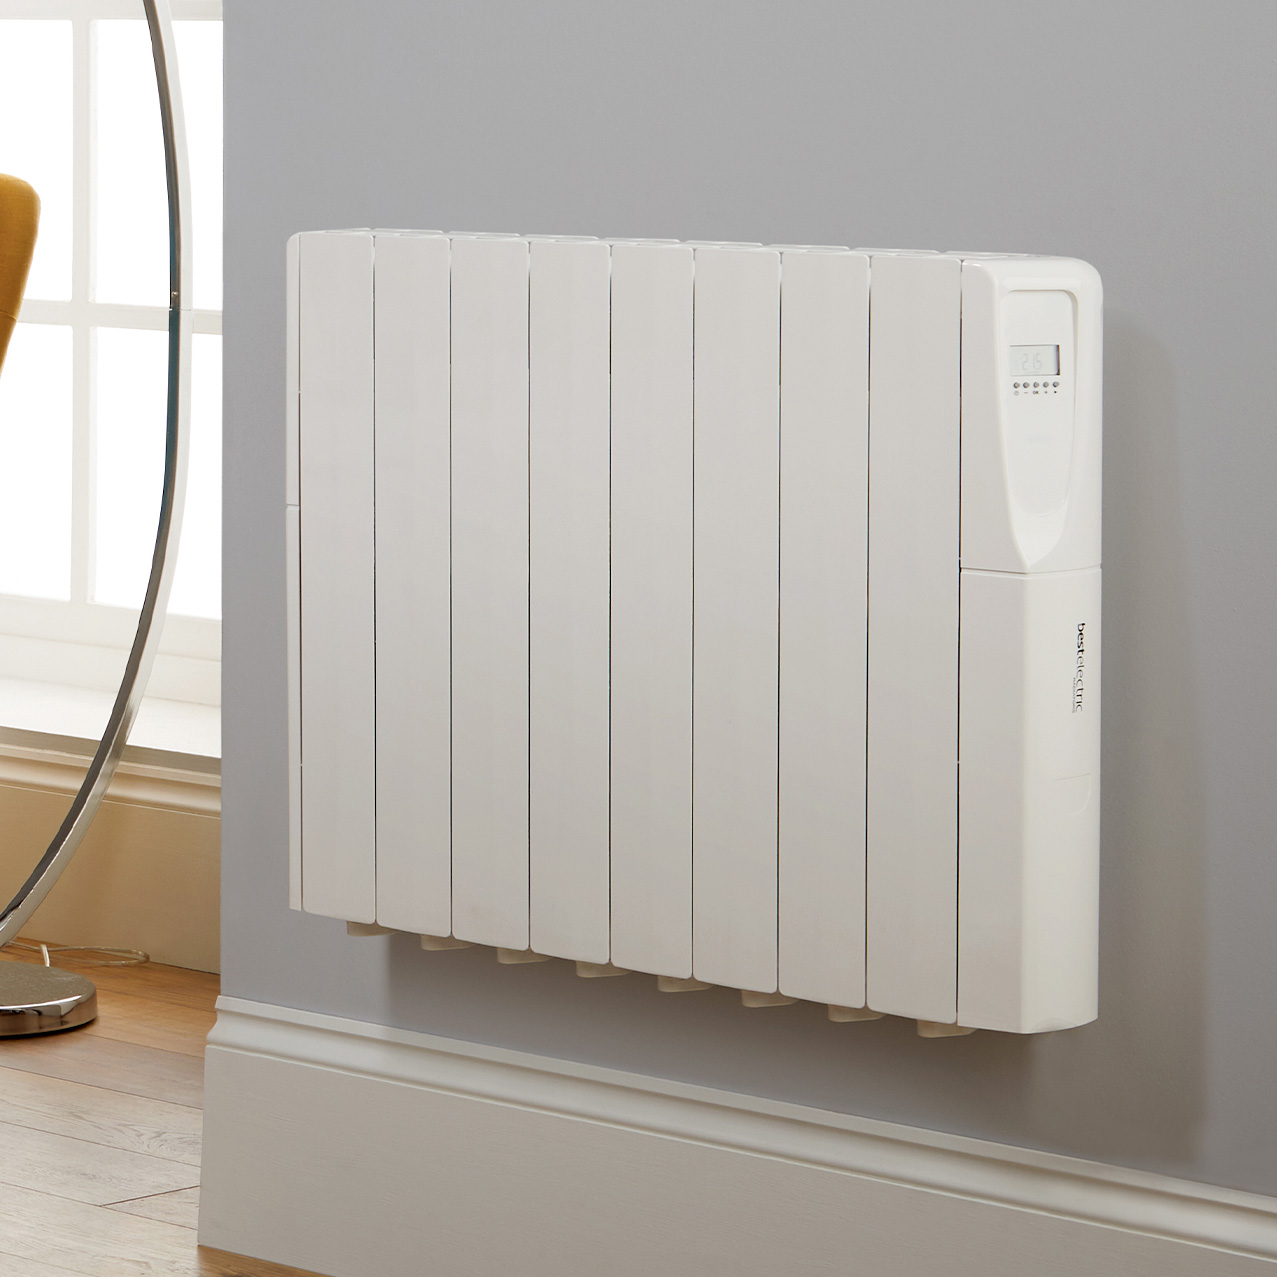
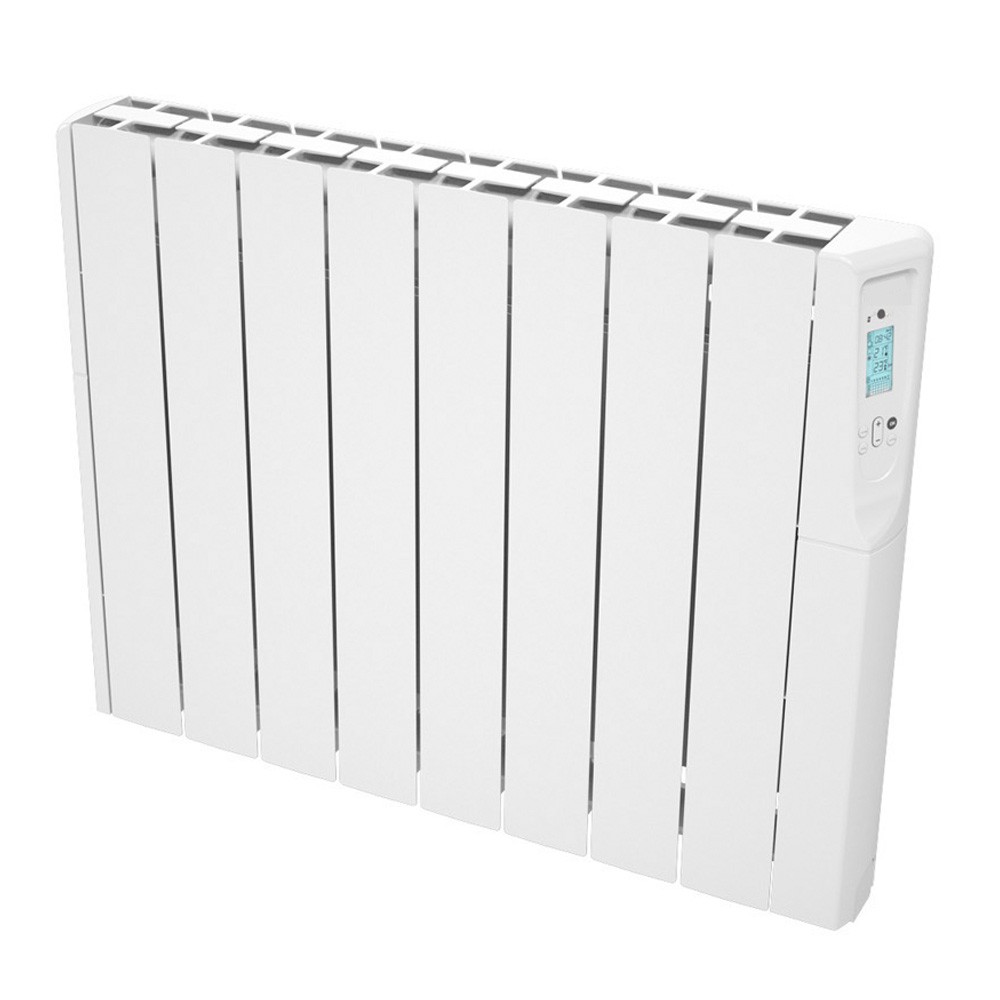
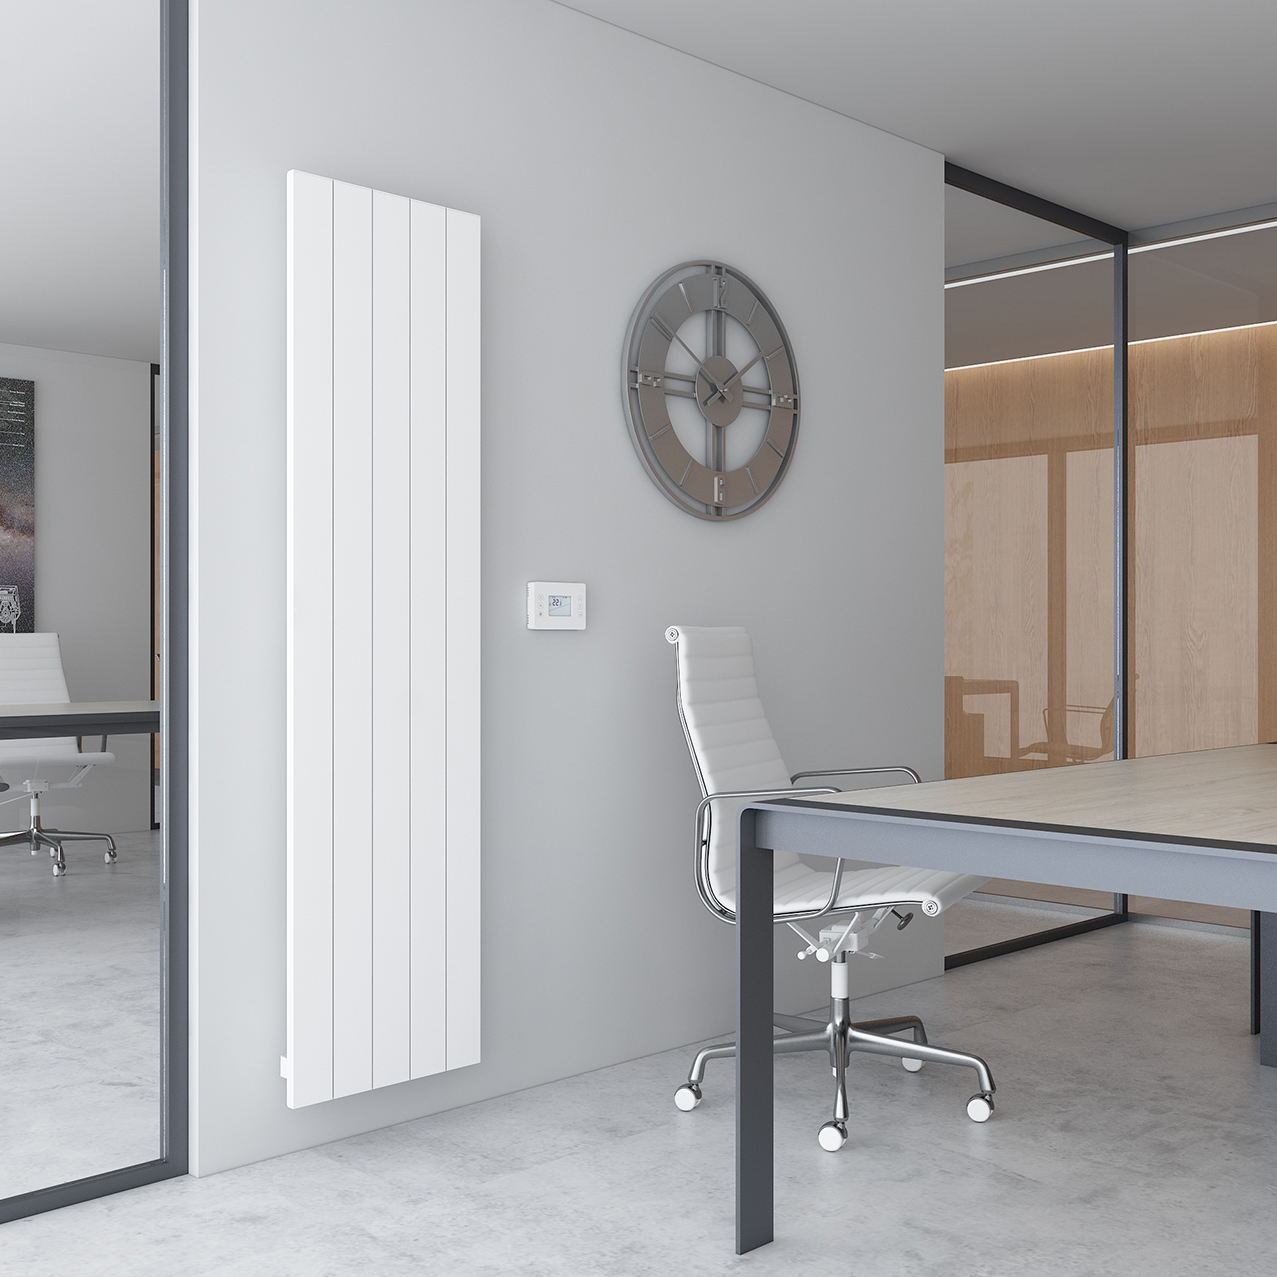
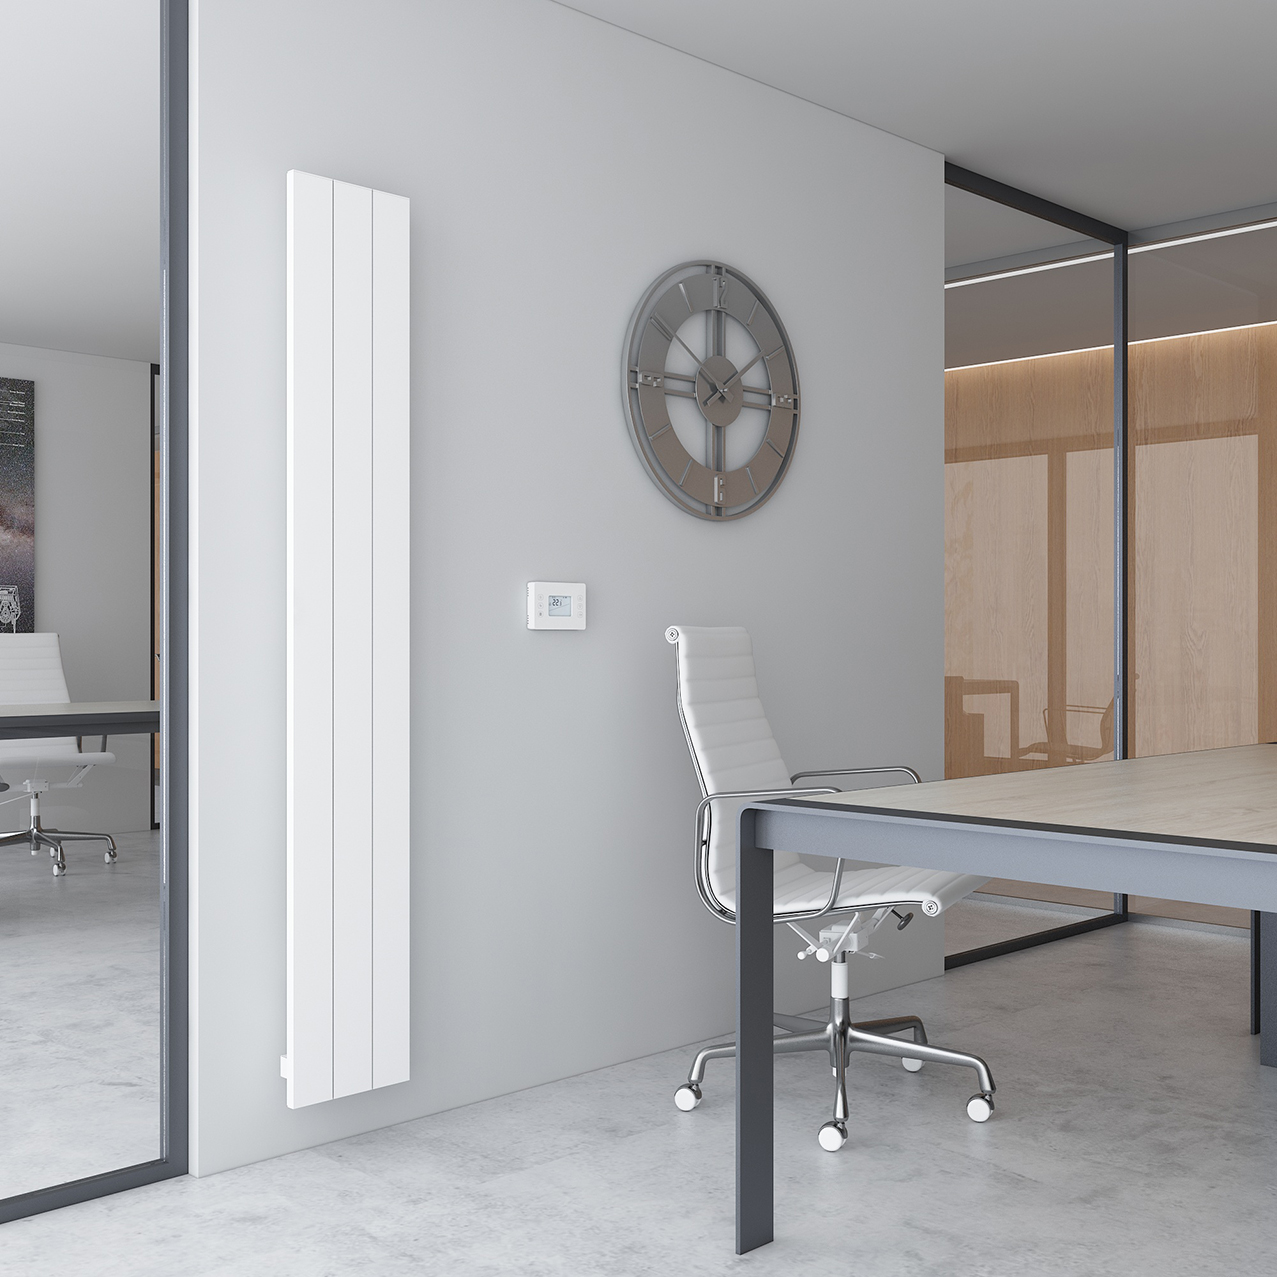
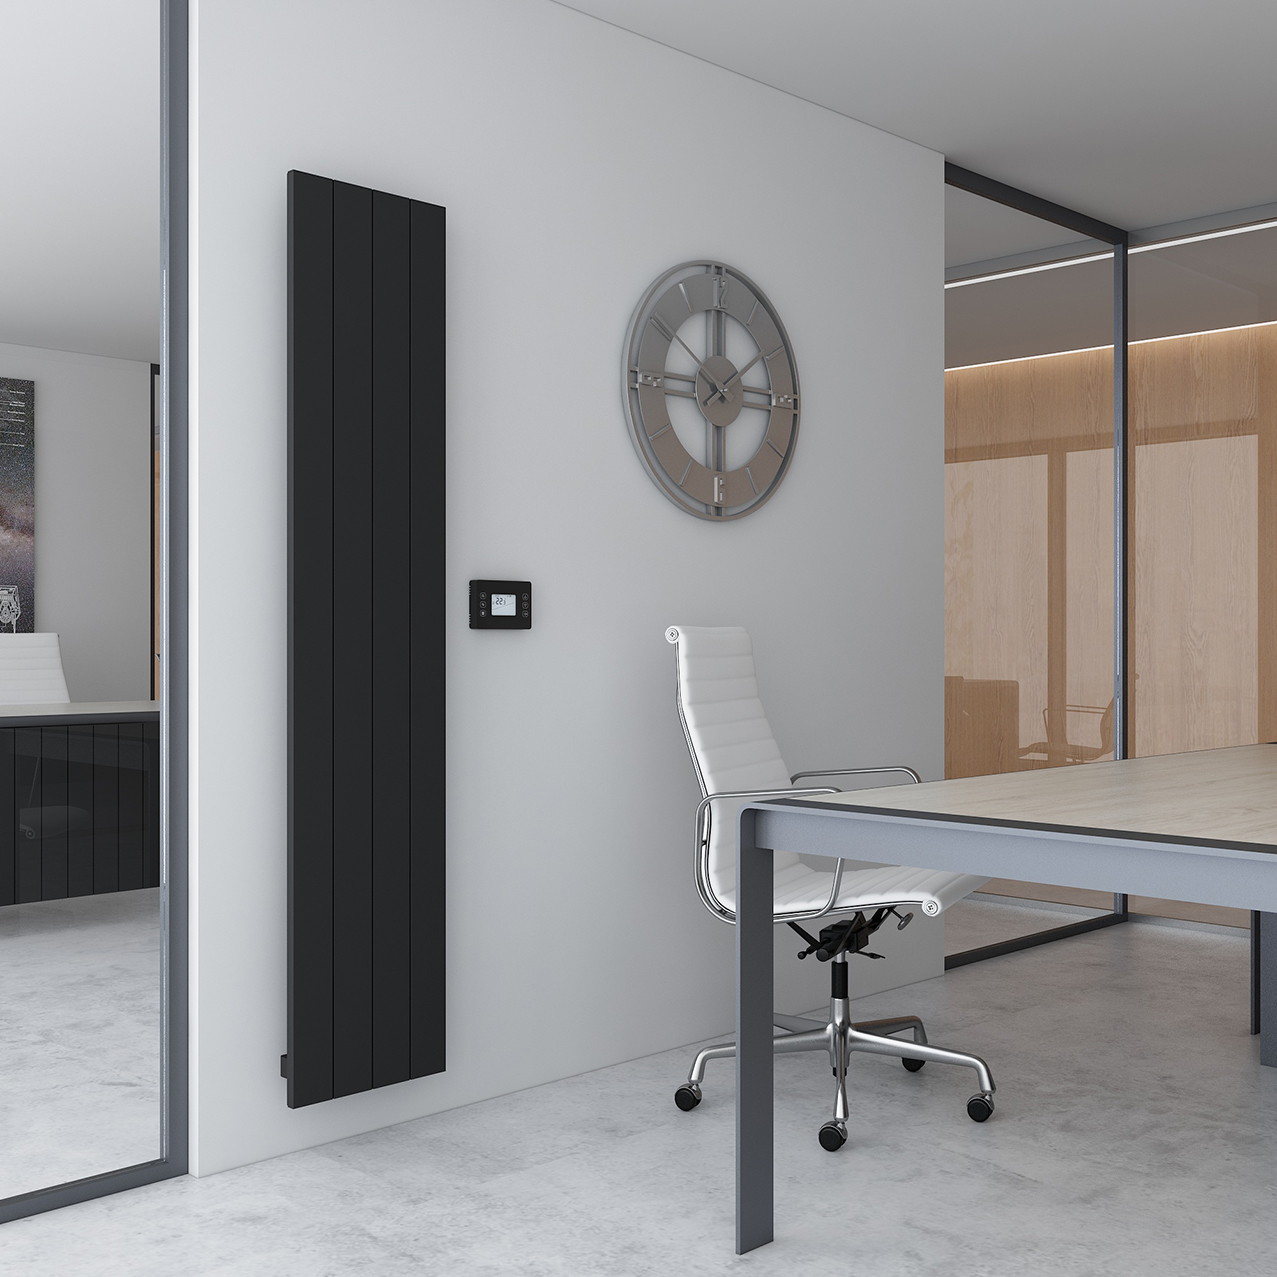
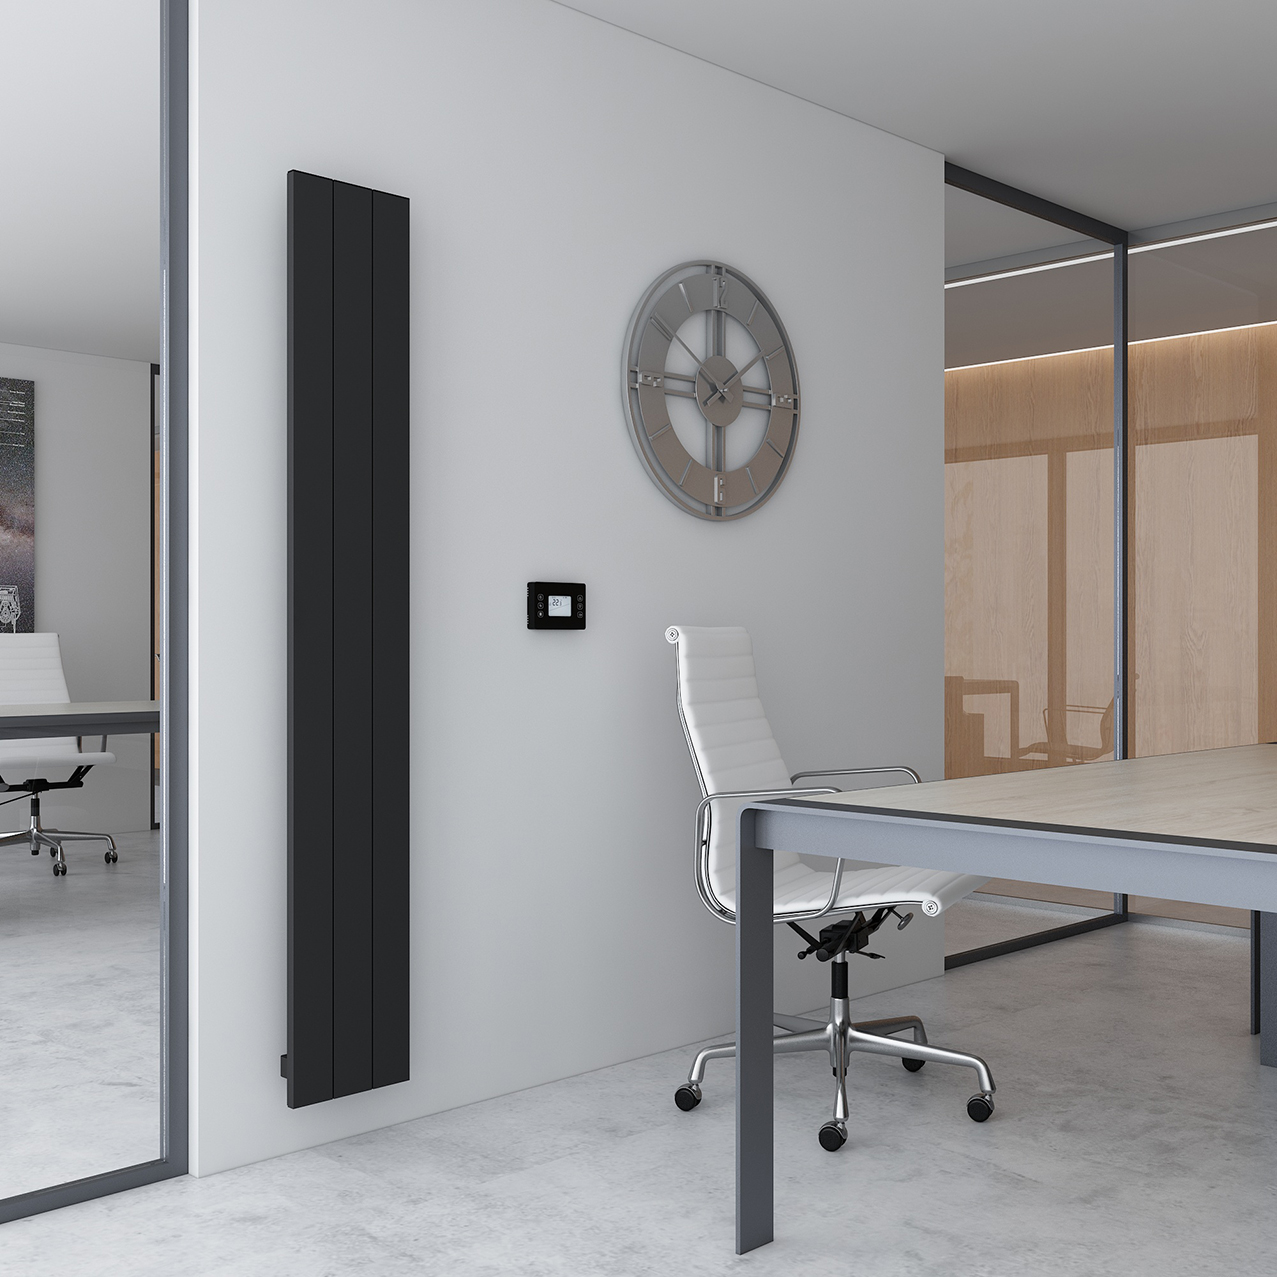
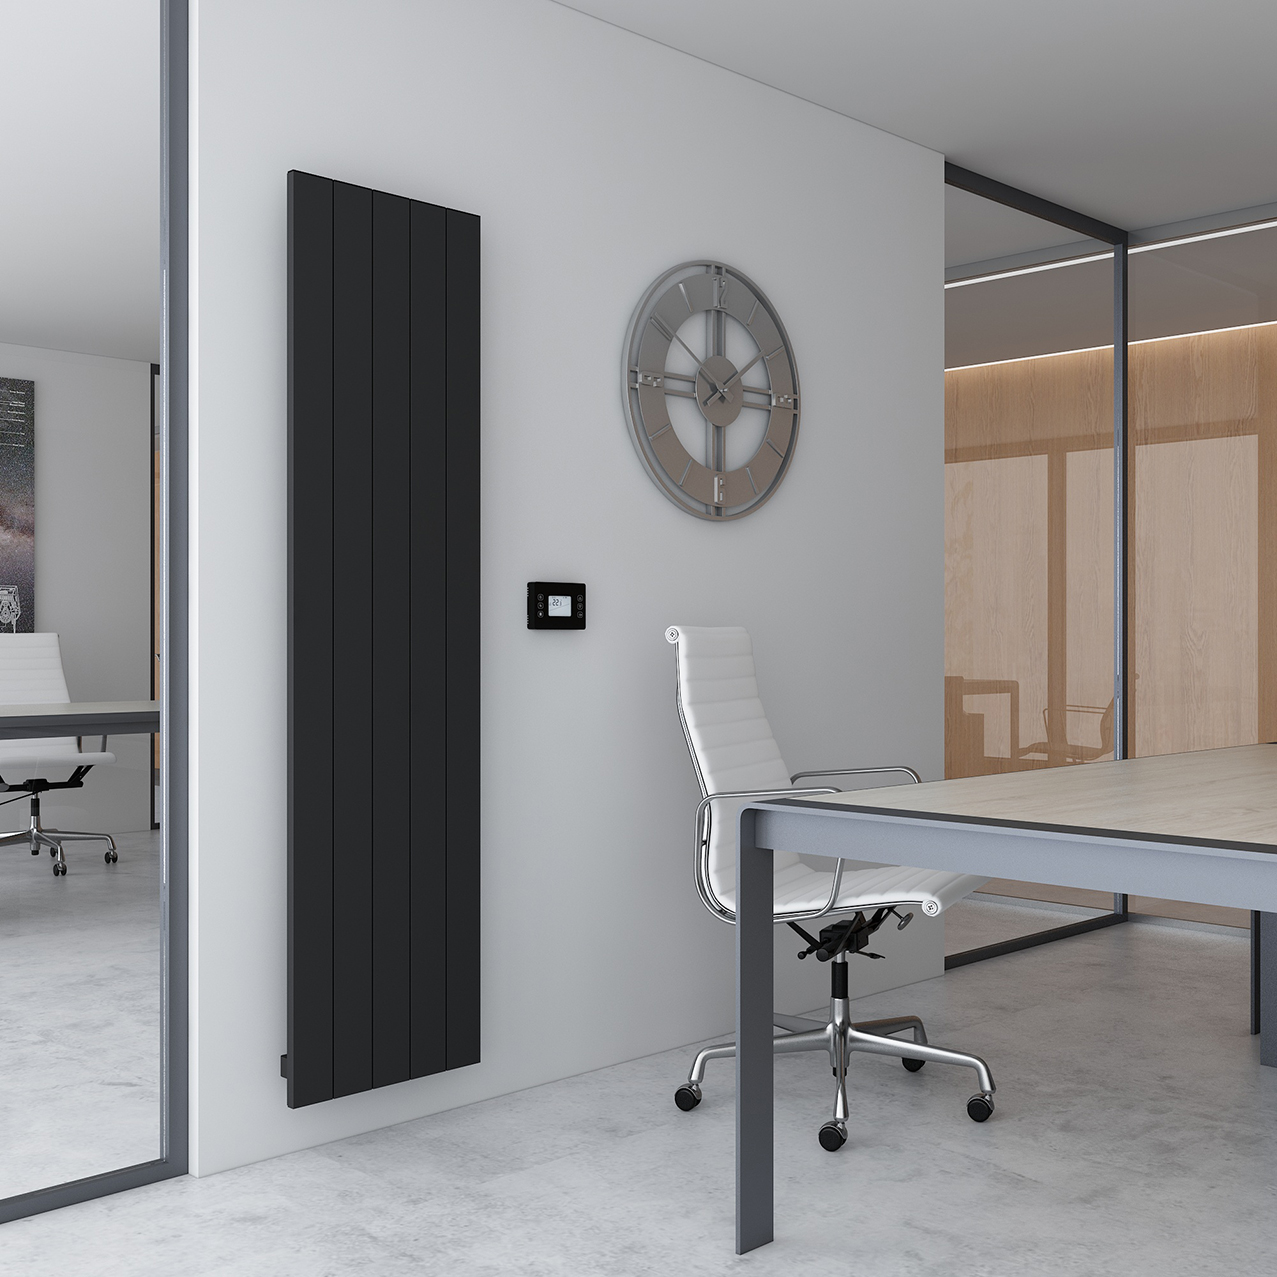
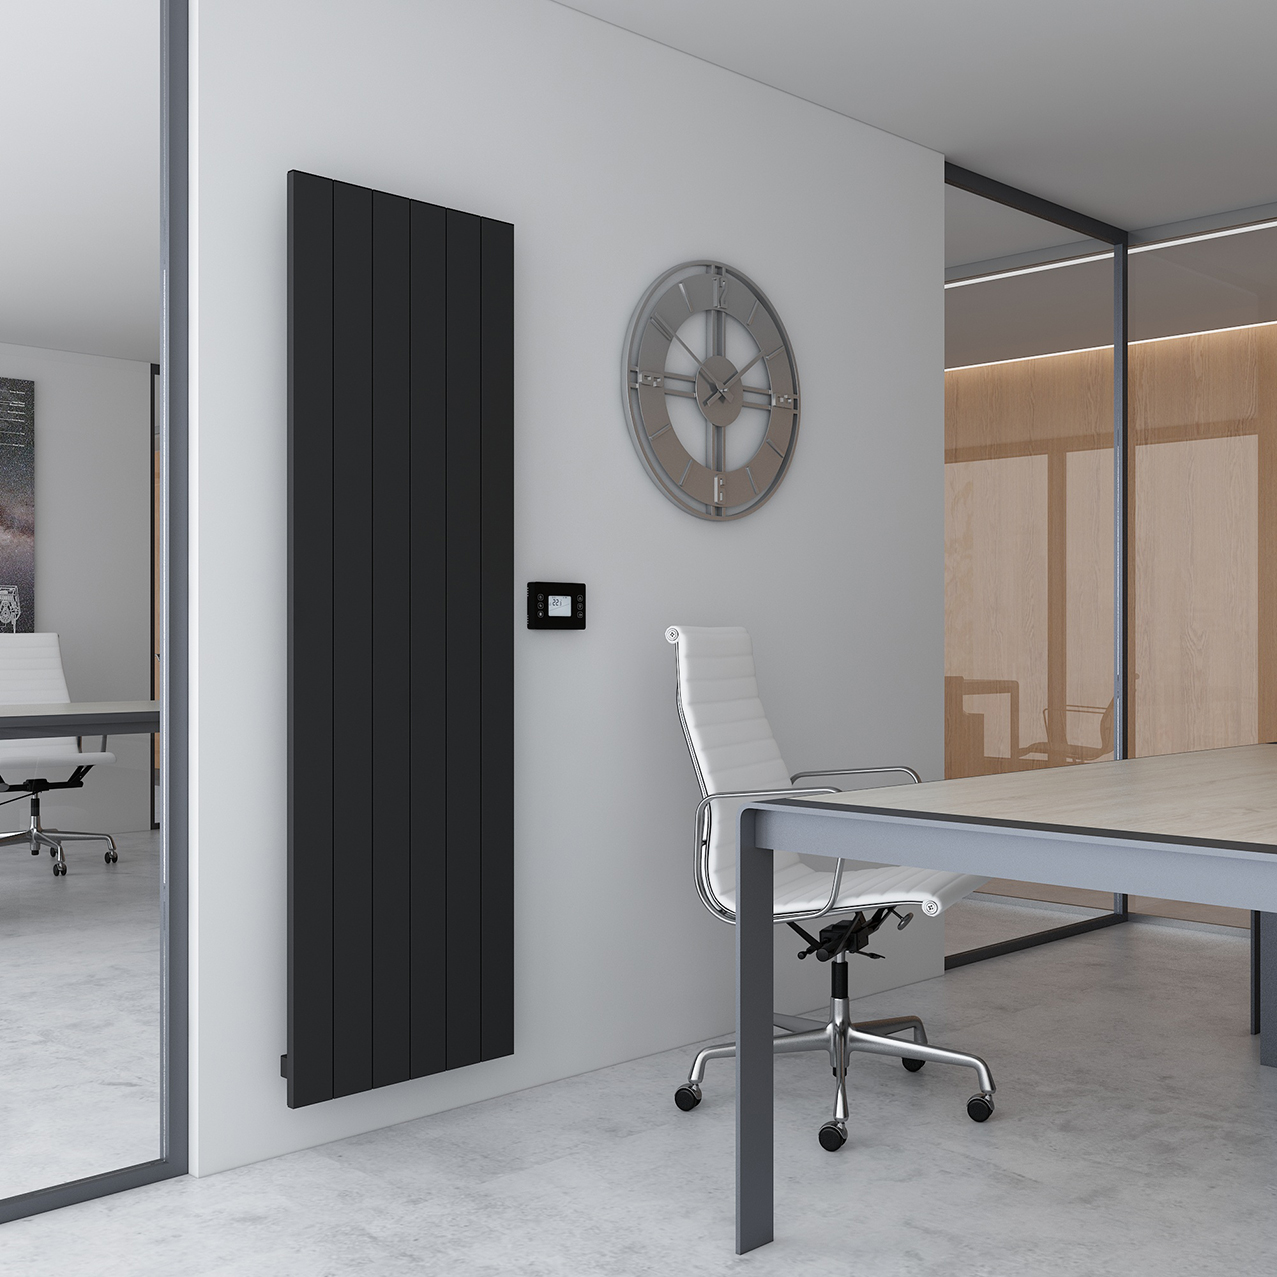
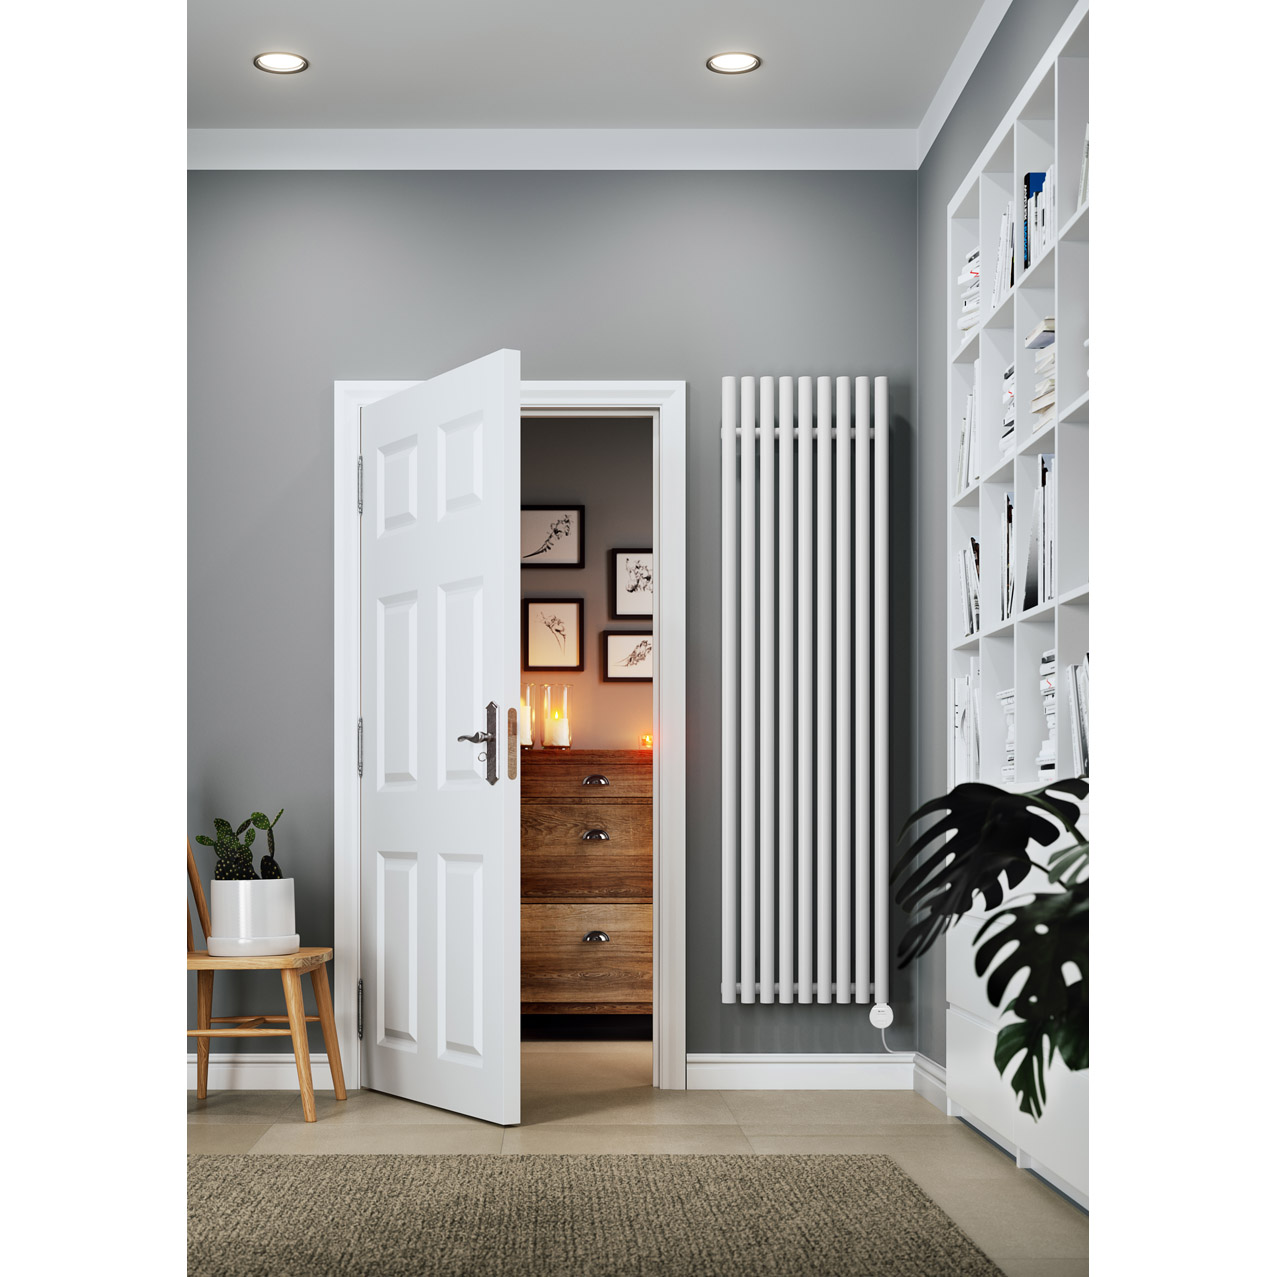
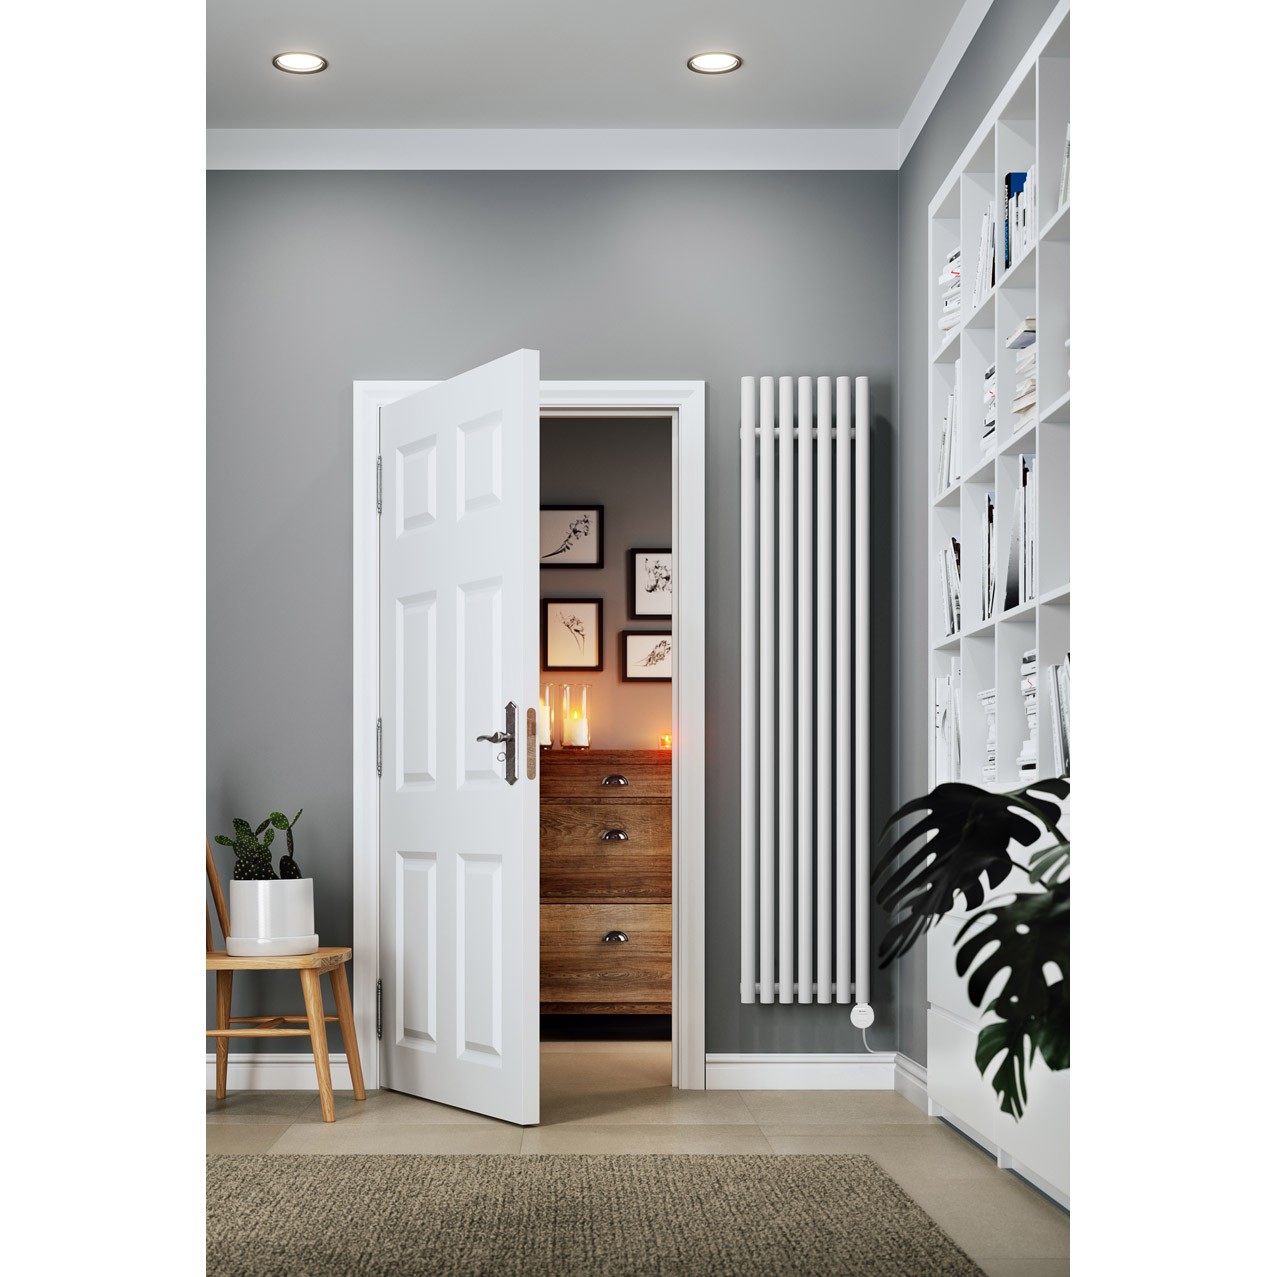
Wall mounted electric radiators are compact heating units fixed directly onto your walls, offering efficient warmth while saving valuable floor space. Sleek and modern in design, they seamlessly blend with any room décor, making them both functional and stylish. Equipped with precise temperature control, these electric radiators ensure optimal comfort and energy efficiency, helping to reduce heating costs.
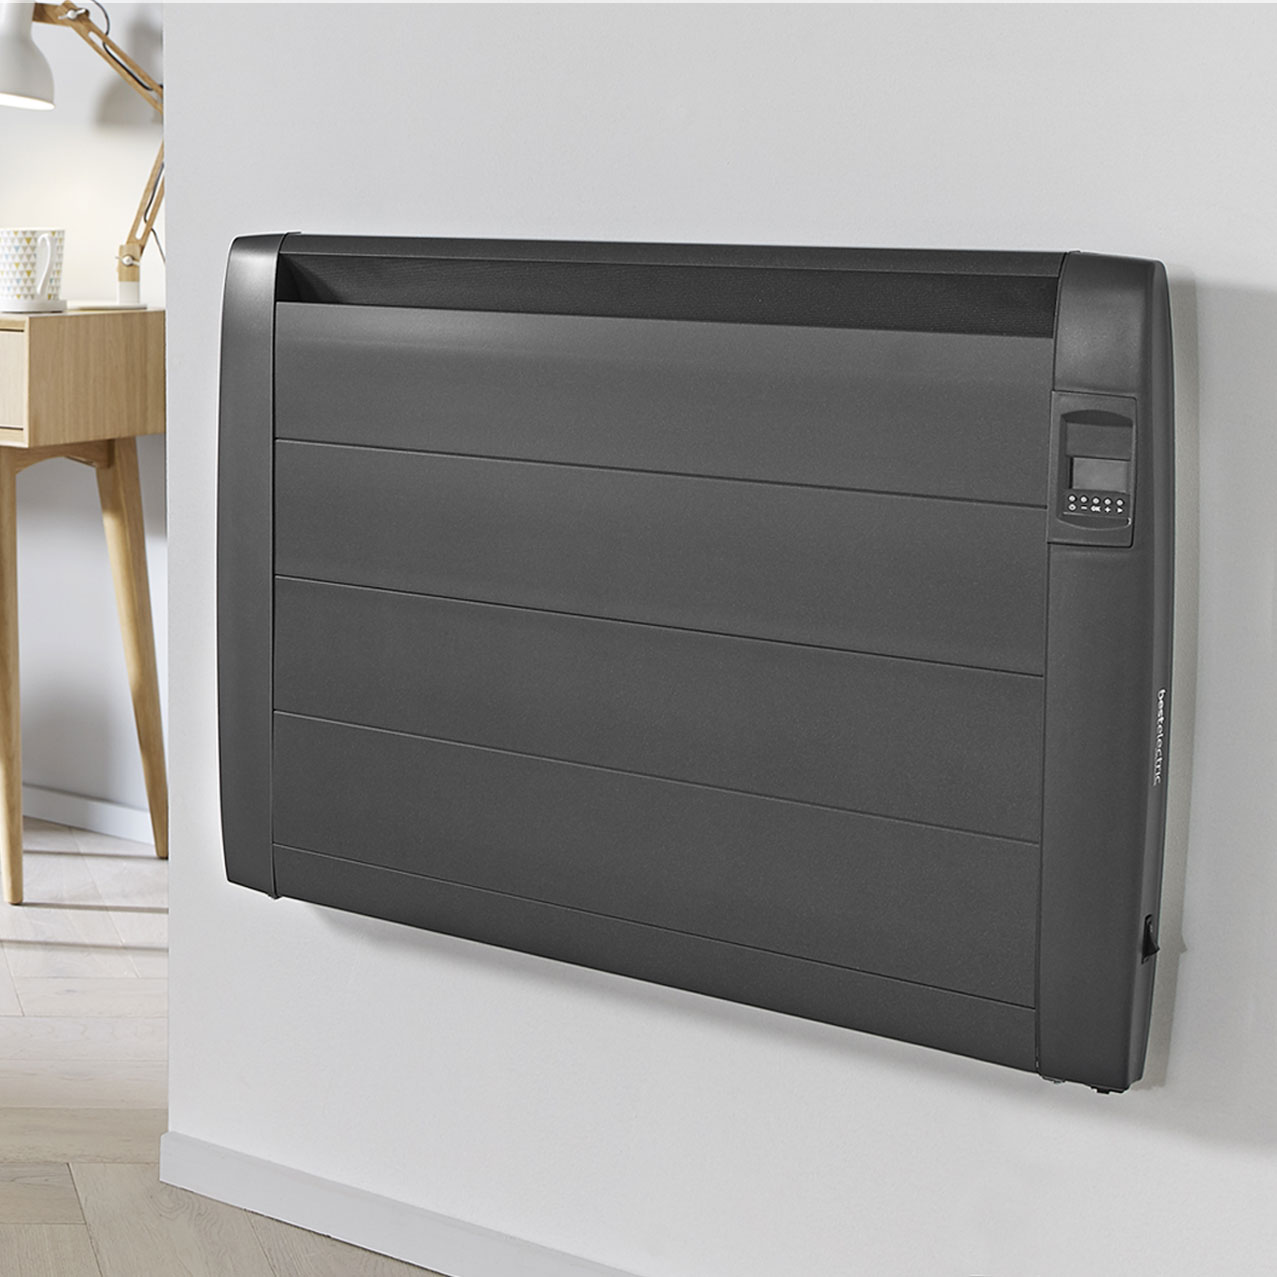
Popular in the UK, these electric wall heaters are easy to install, operate quietly, and distribute warmth evenly, making them a convenient choice for various room sizes. Discover the comfort, convenience, and space-saving benefits of the best wall-mounted electric radiators today.
Shopping with us means choosing convenience, support, and top-notch products!
Wall-mounted electric heaters and radiators offer numerous advantages that make them a top choice for efficient, stylish, and space-saving heating solutions. Here’s why they stand out compared to other heating options:
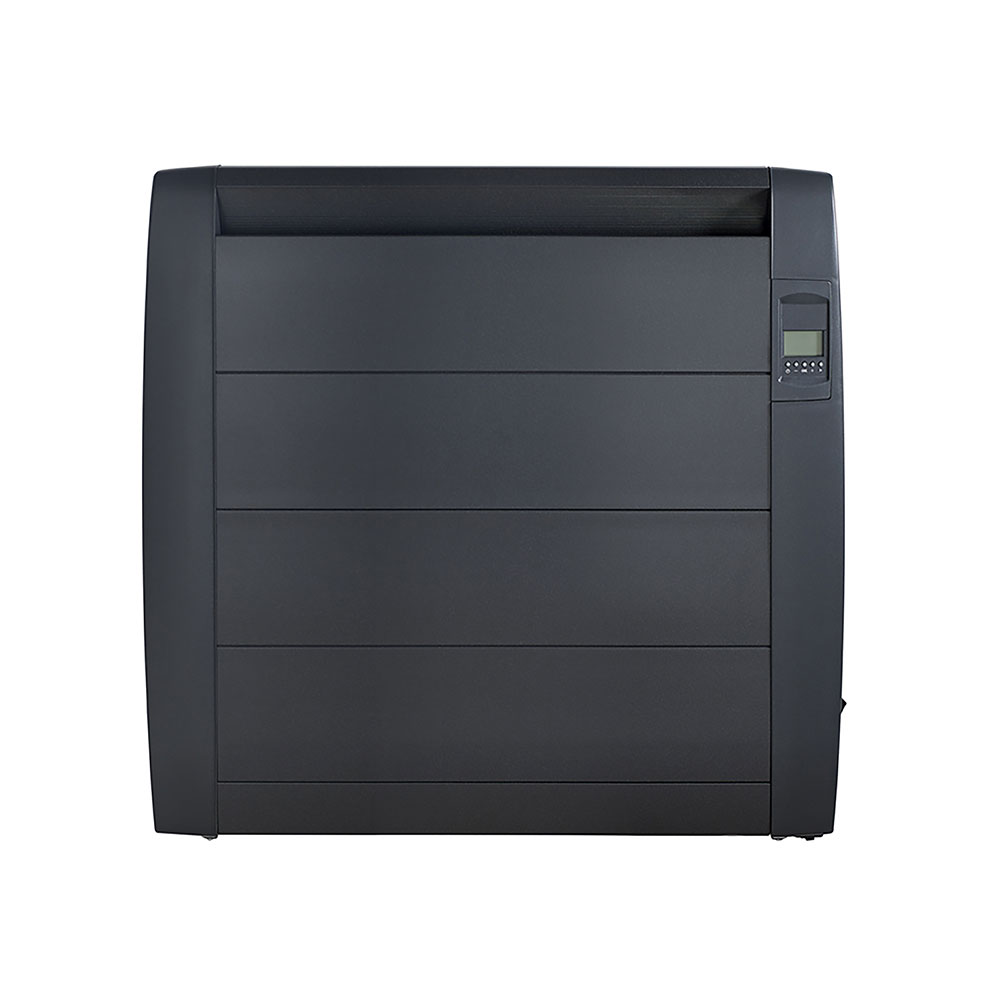
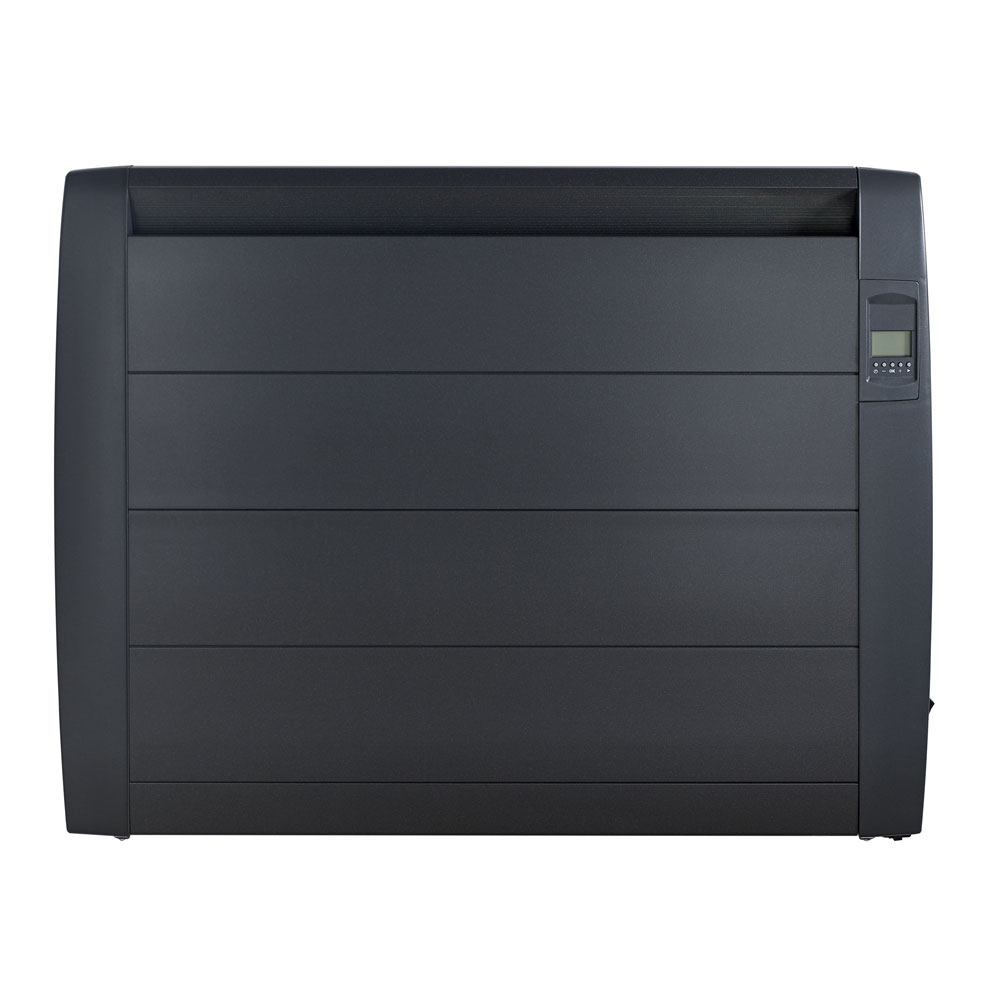
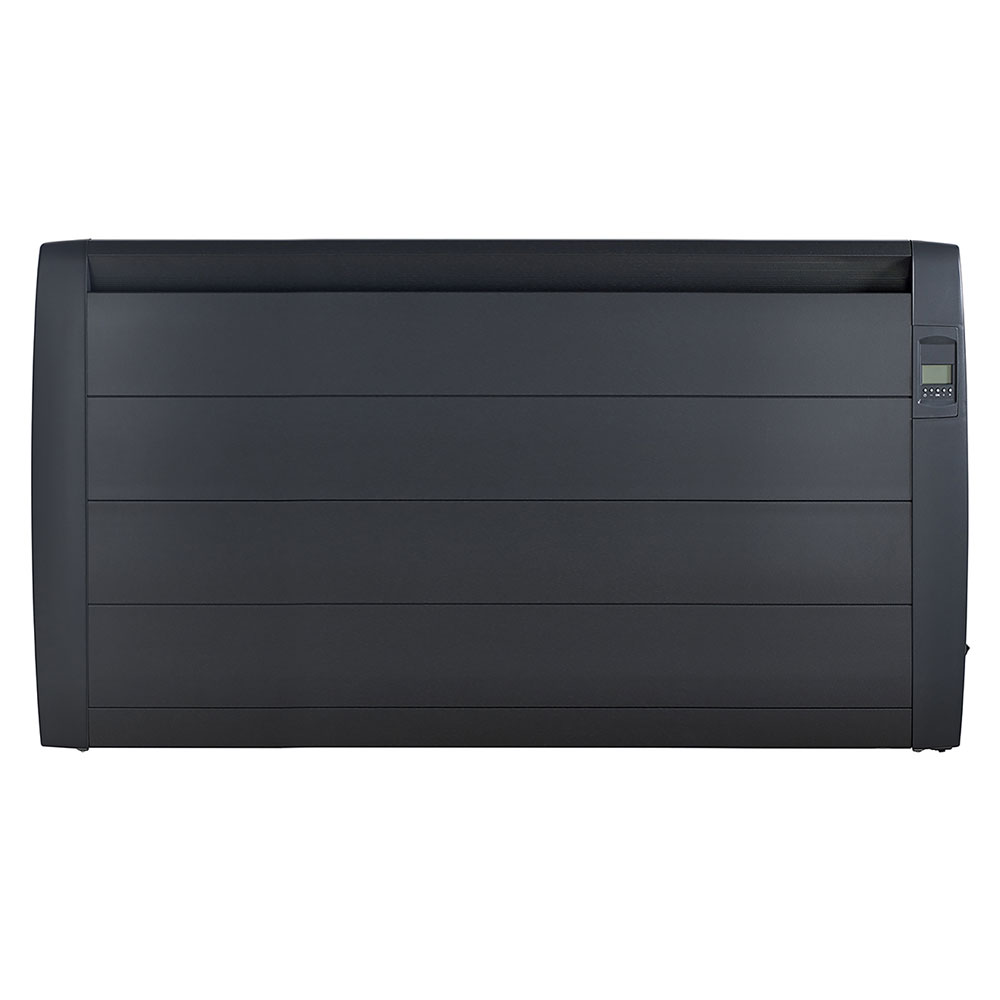
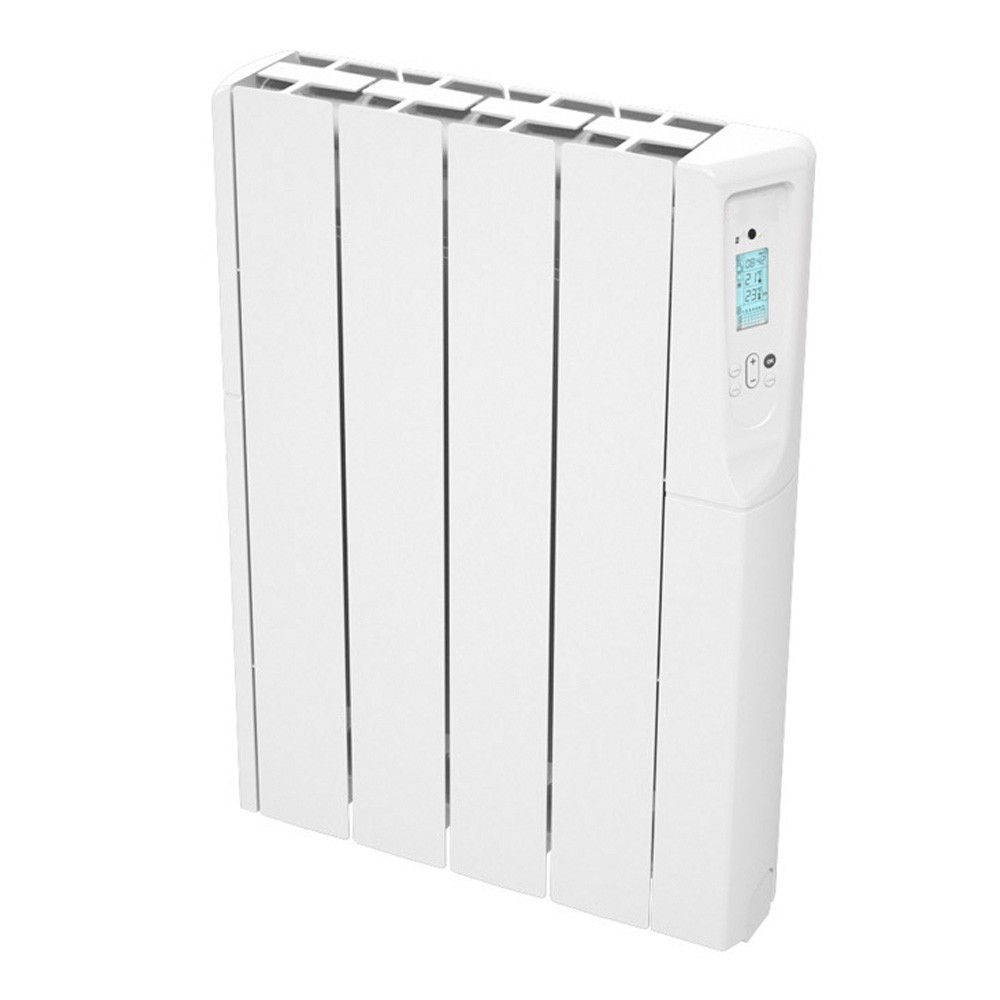
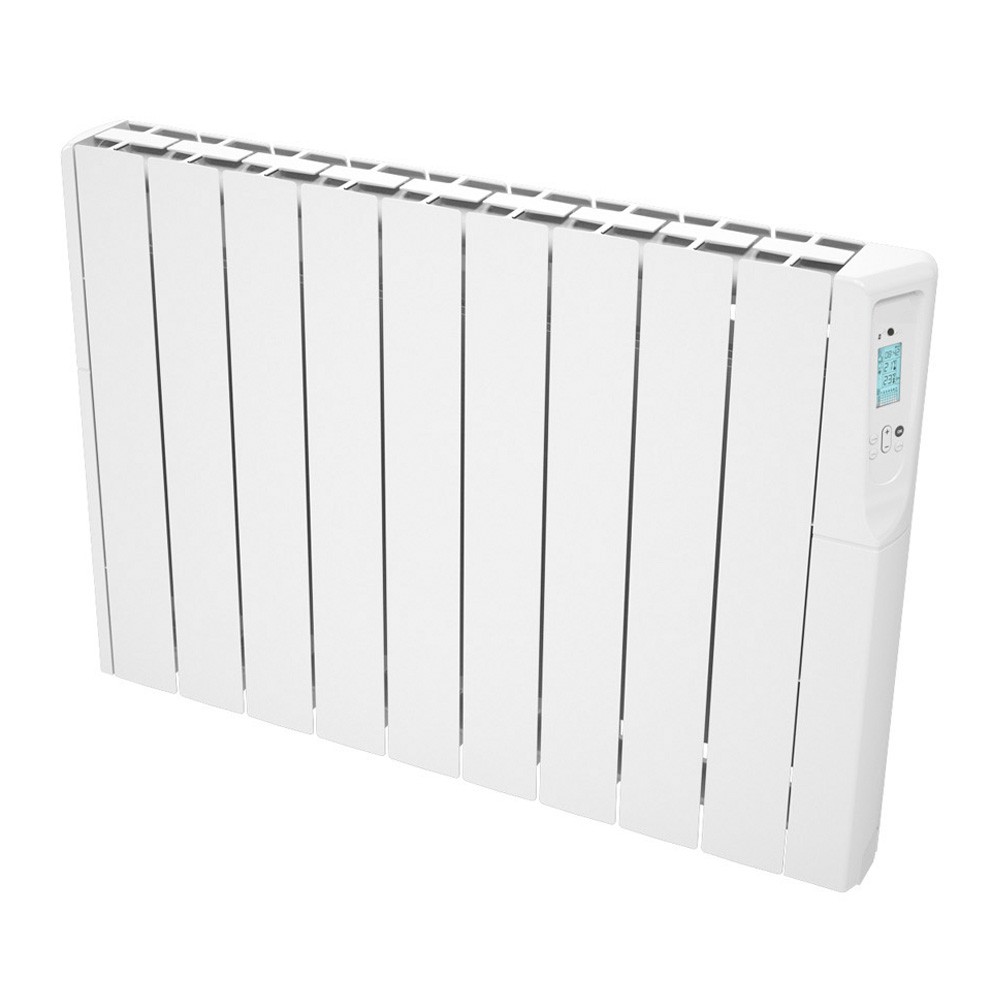
Here are some of the types of electric wall heaters and radiators you can find in our UK store, offering a variety of styles and features to suit any room and heating need.
Selecting the best wall-mounted electric radiator depends on your room size, design preferences, and control needs.
Room Size: Match wattage to room size:
Top Picks:
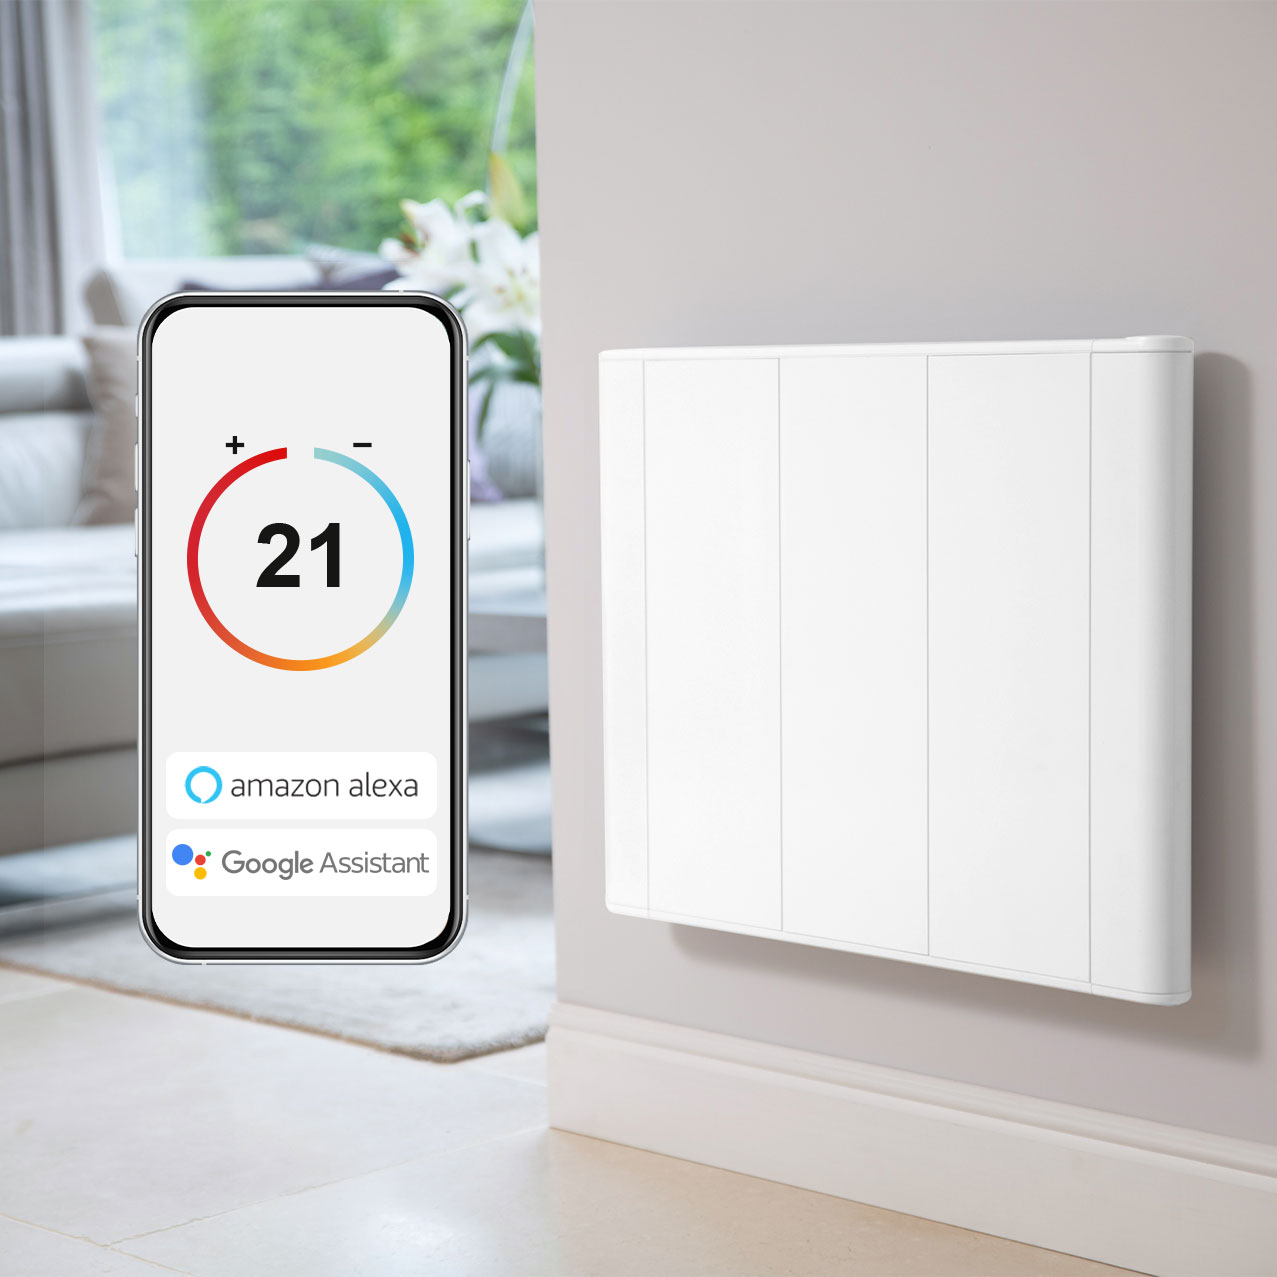
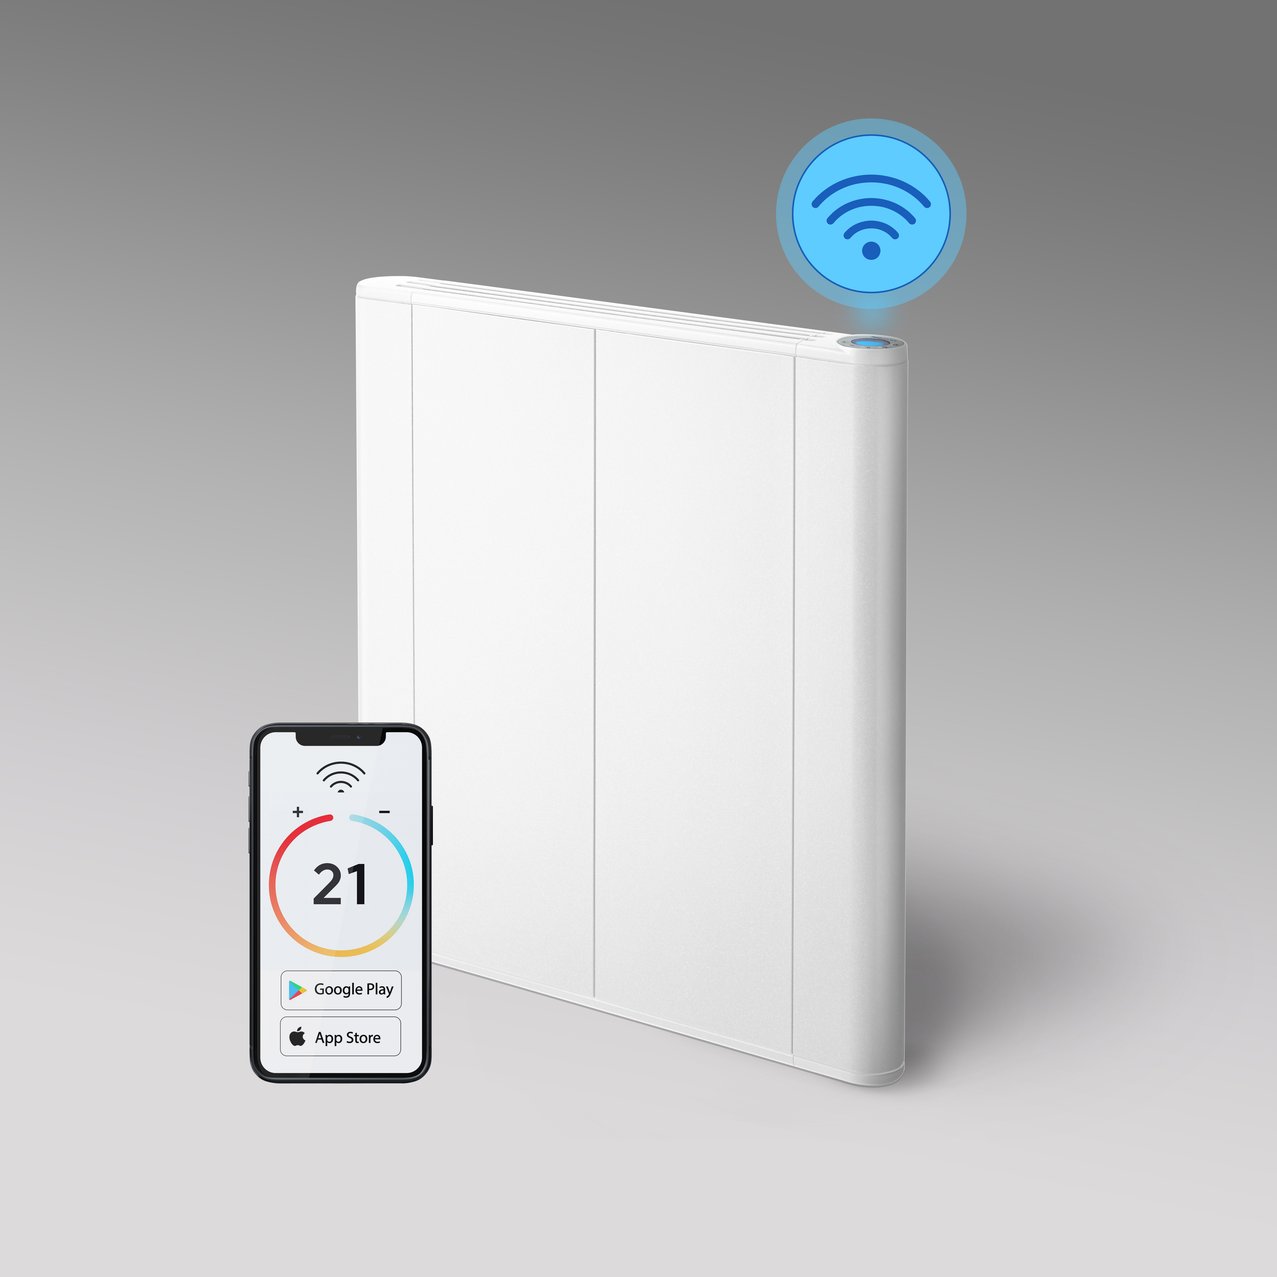
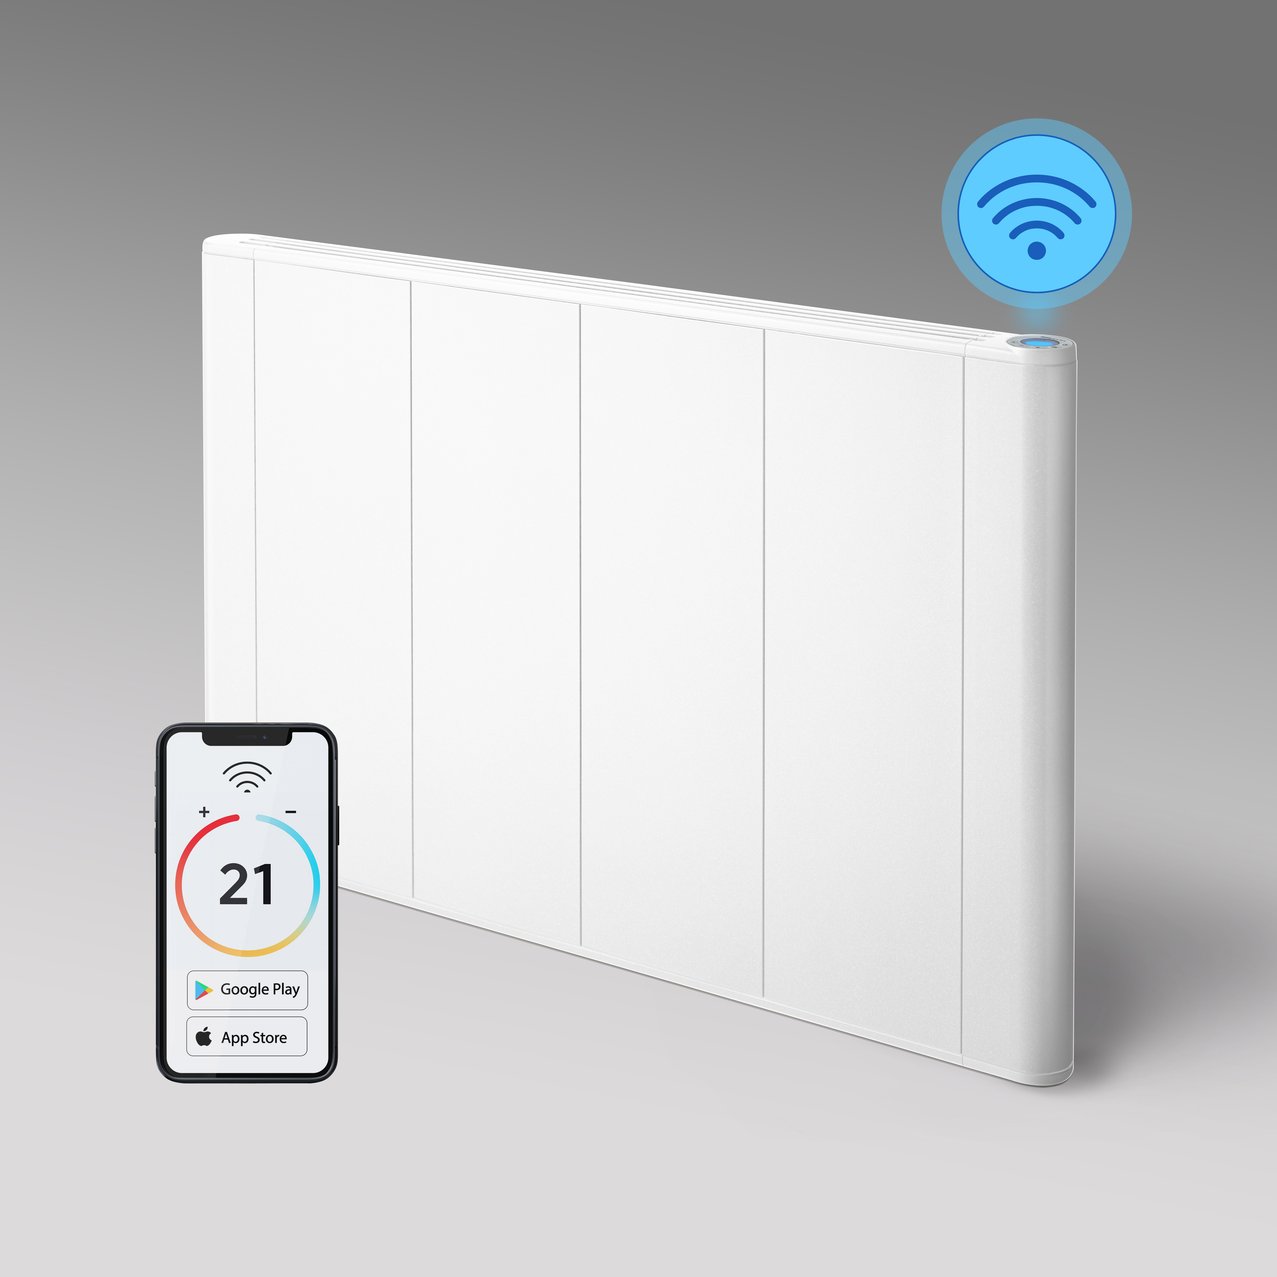
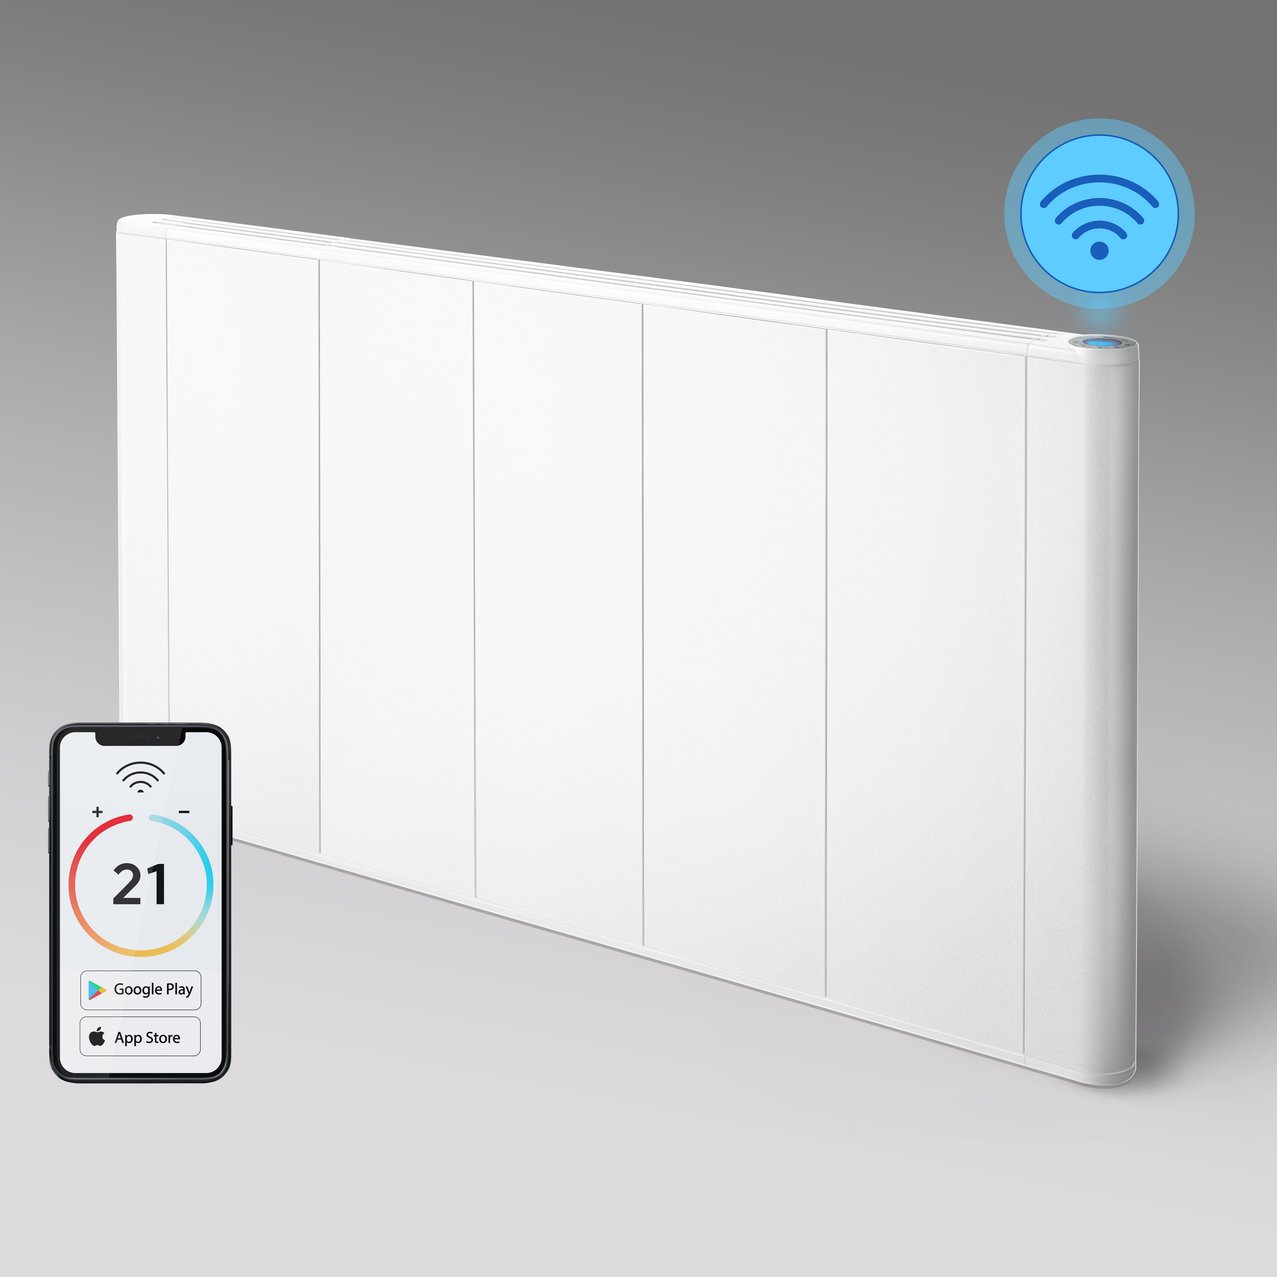
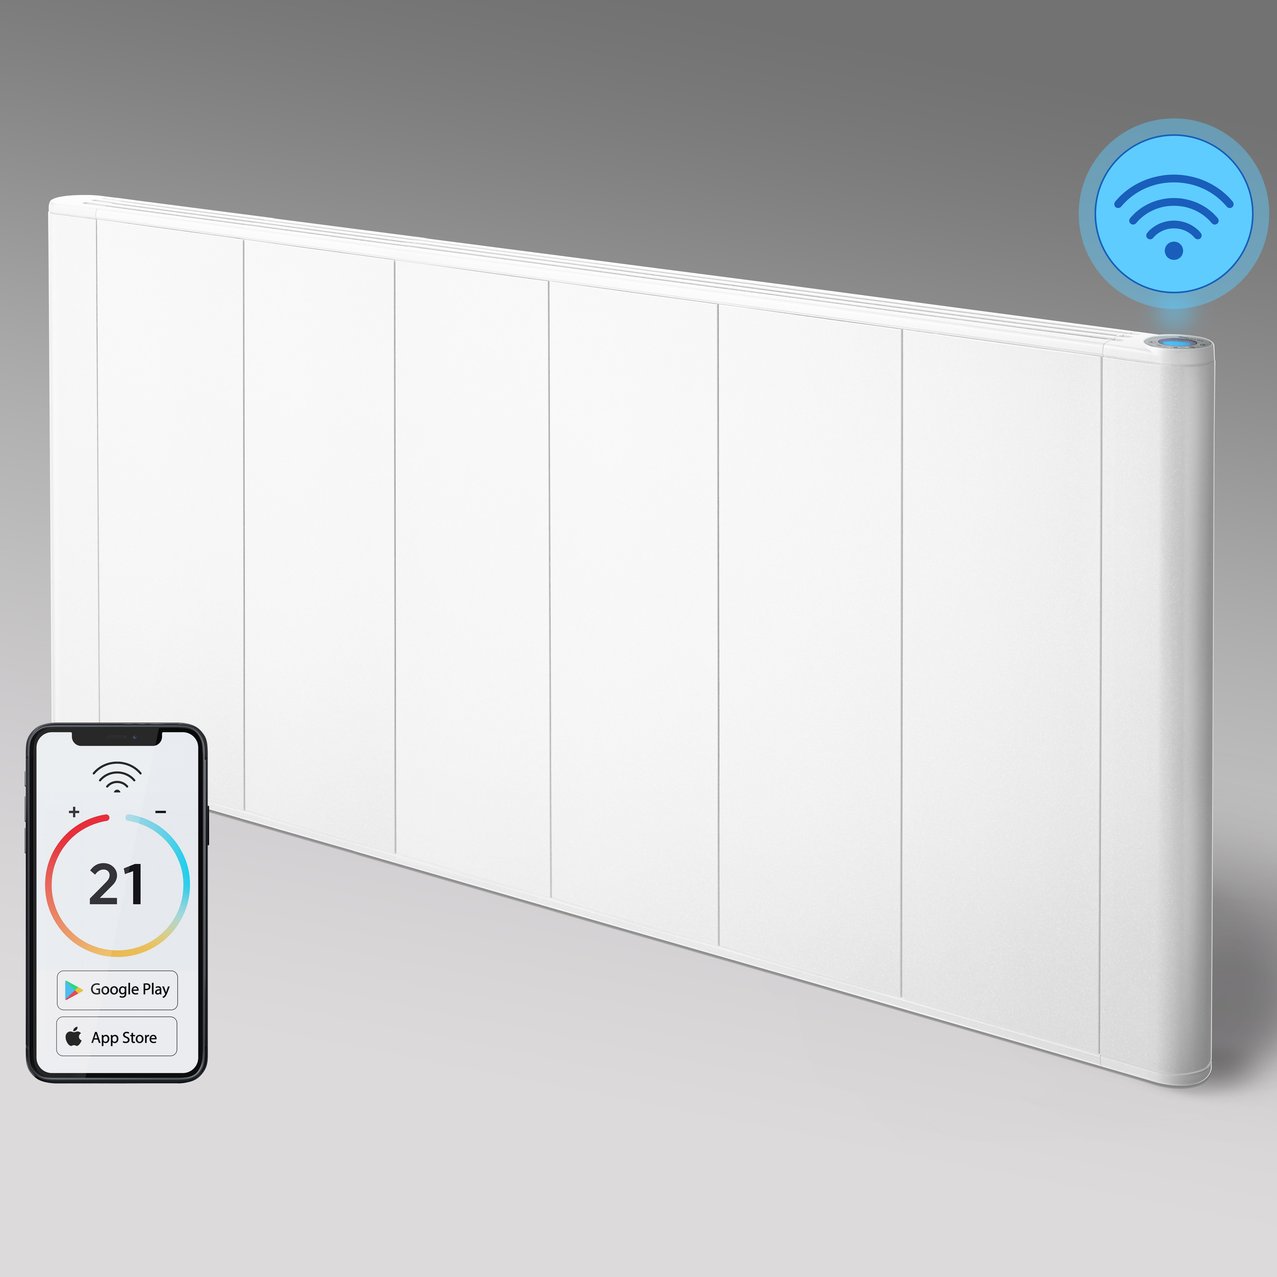
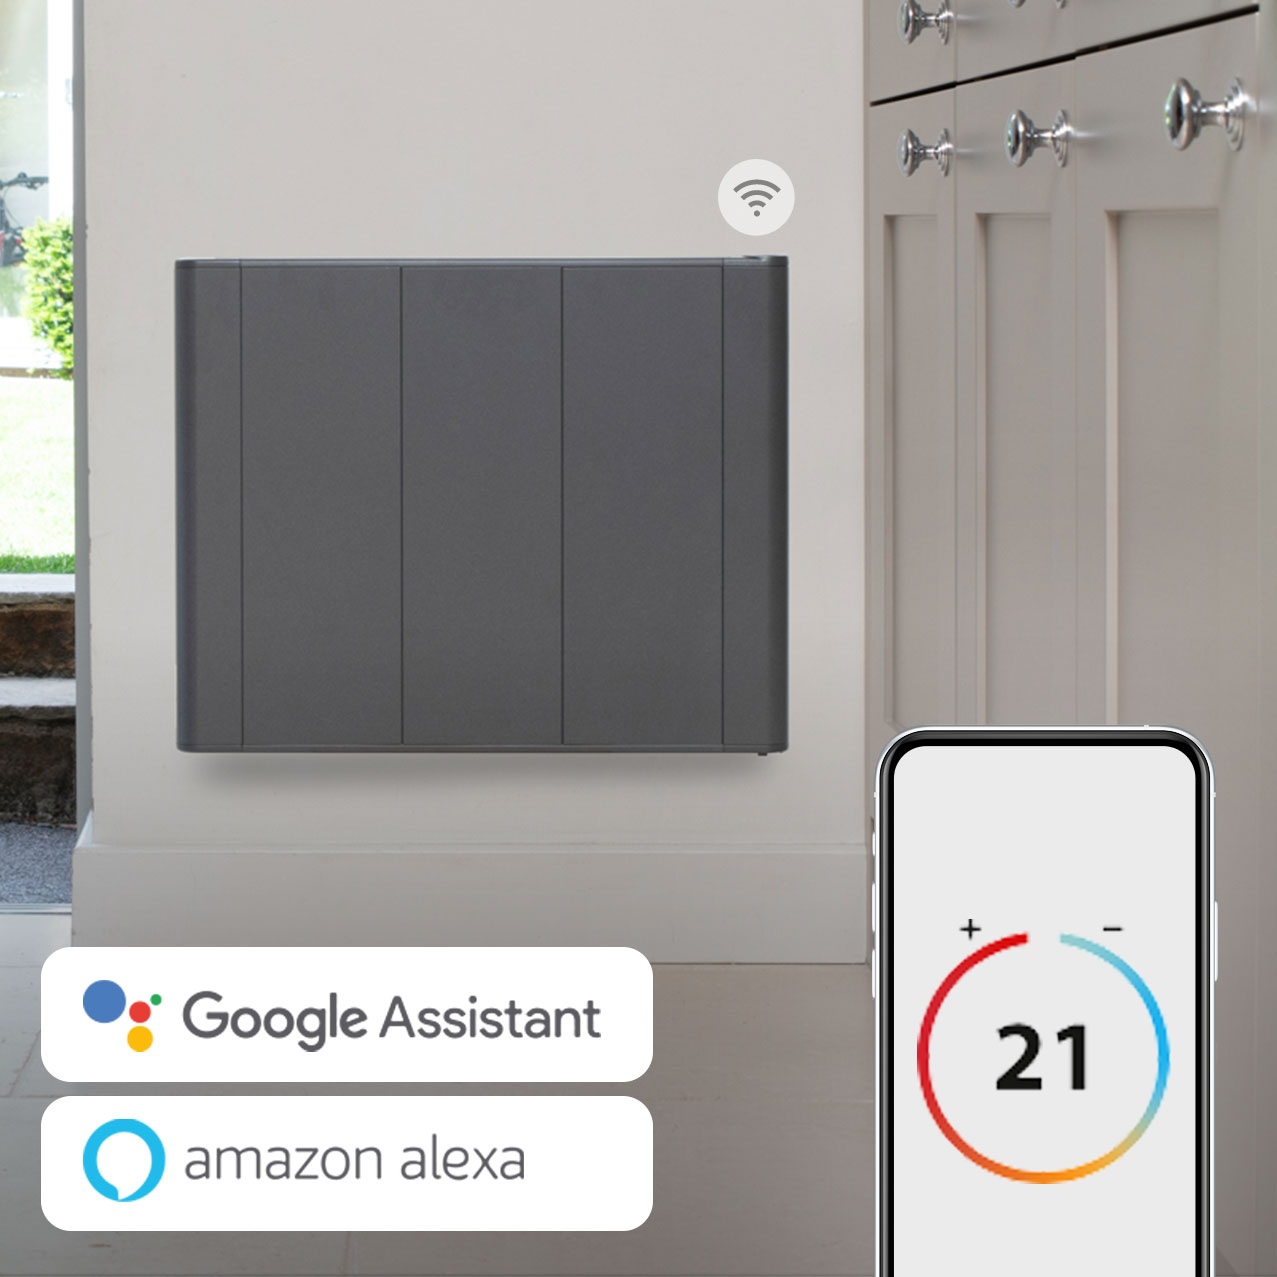
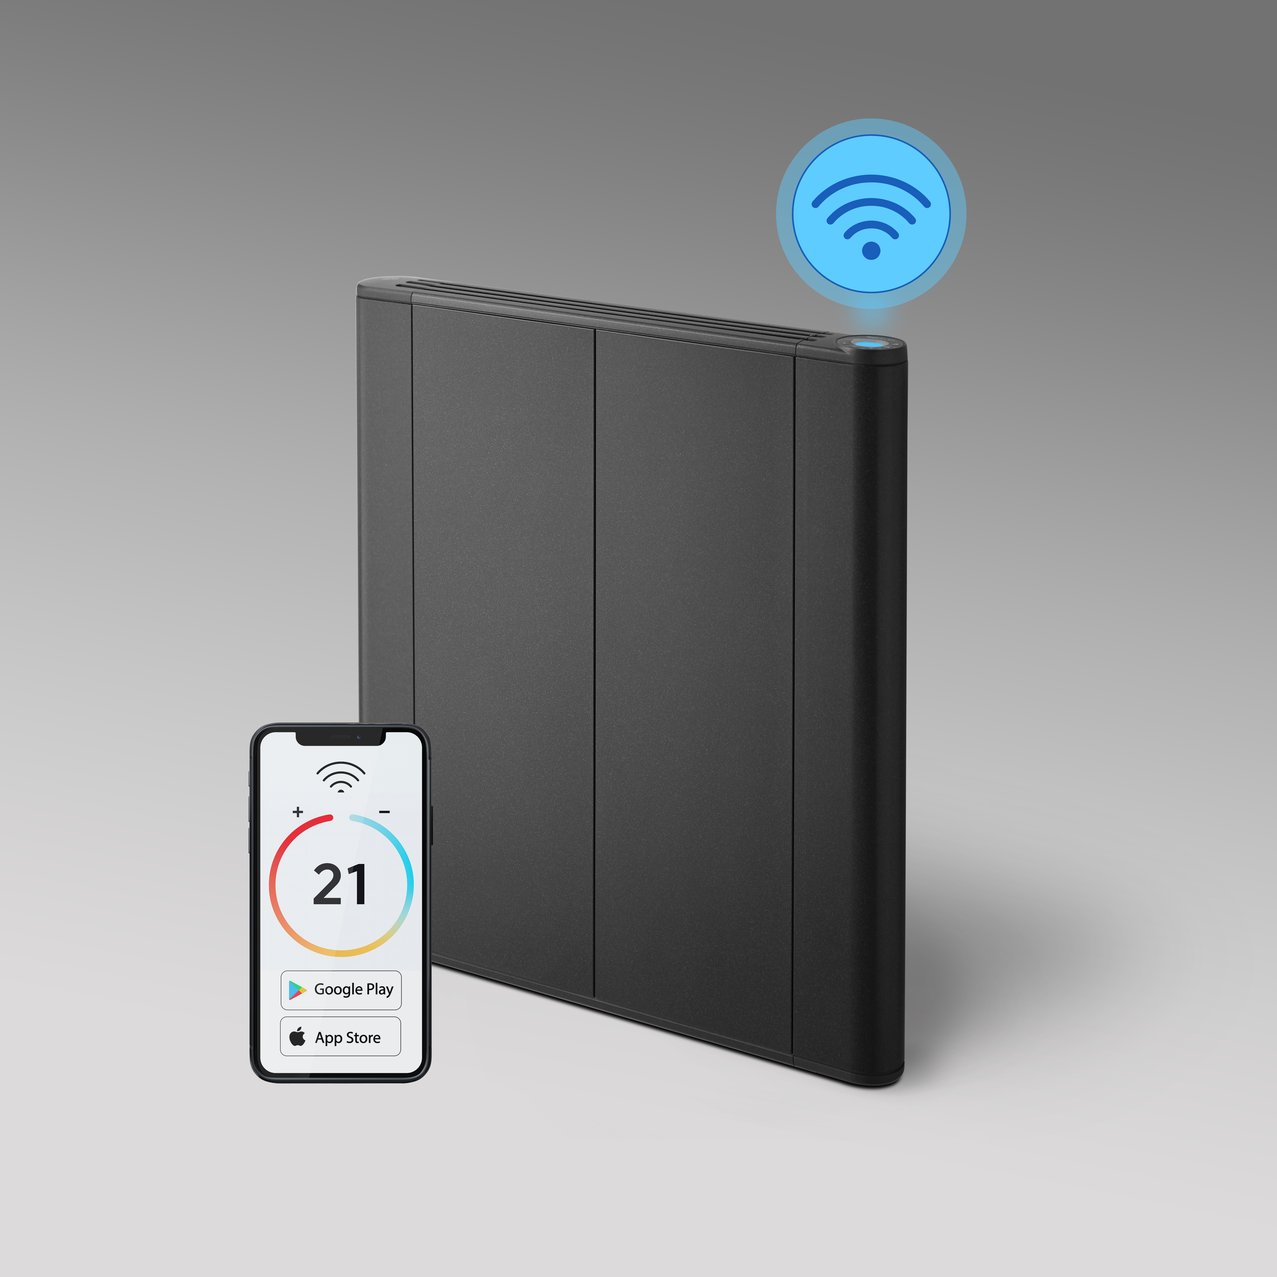
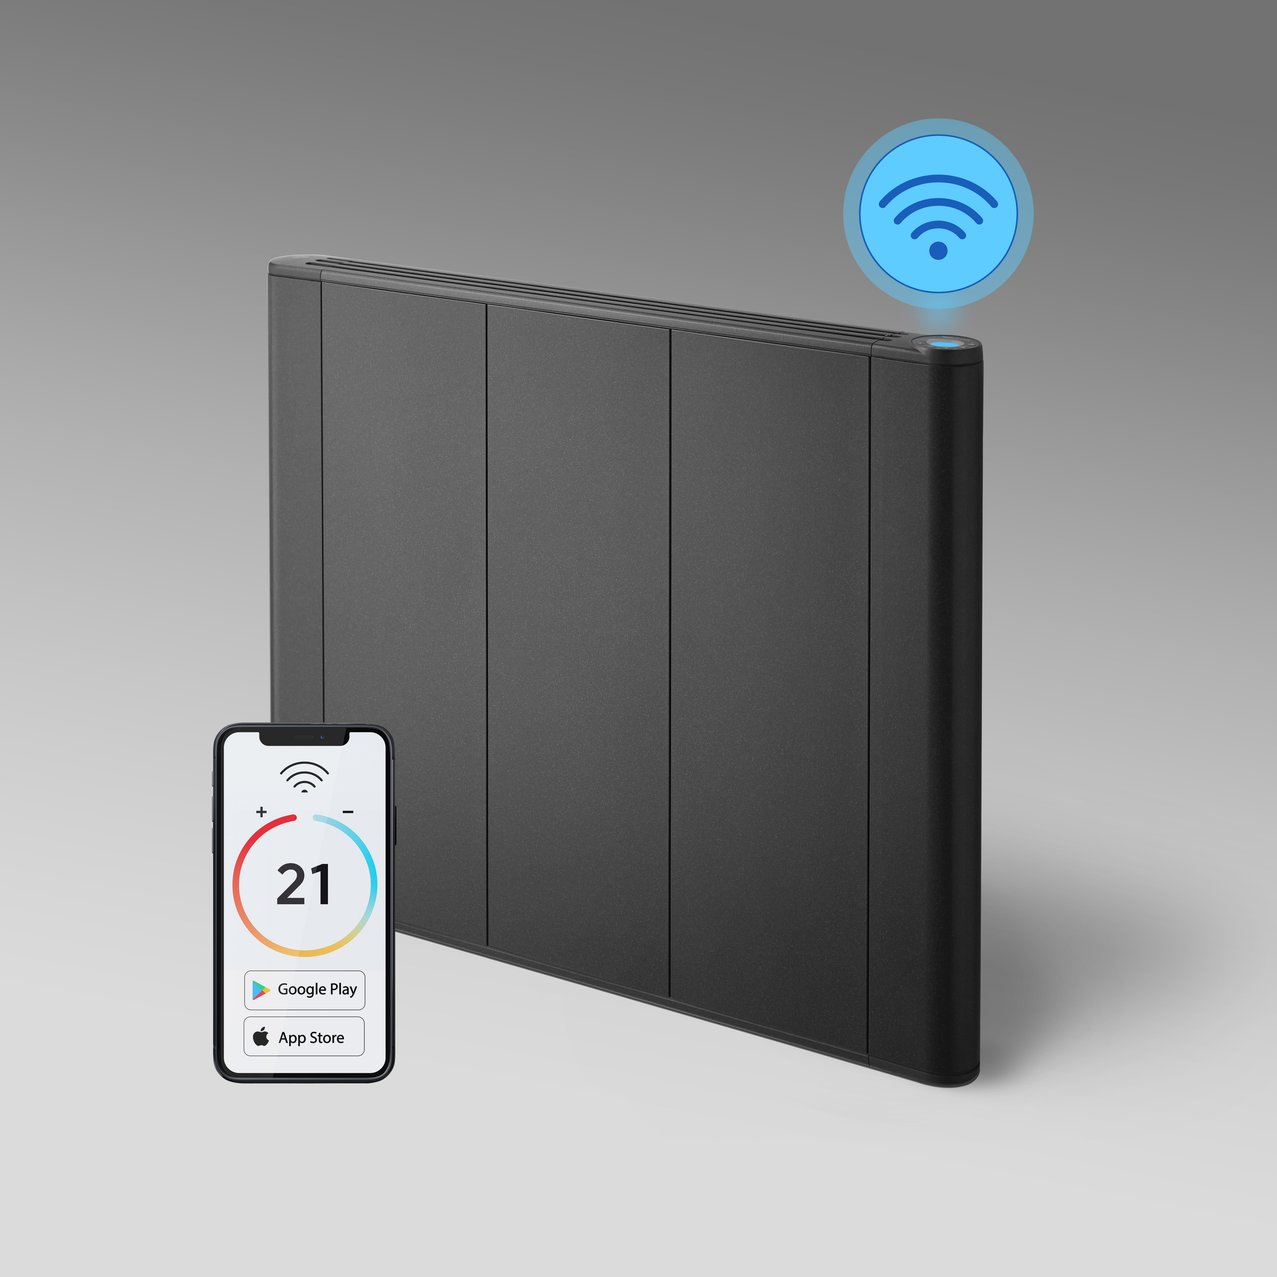
Control Options: Opt for WiFi models for app and voice control, or programmable thermostats for simplicity.
Choose a radiator that balances efficiency, aesthetics, and your heating needs!
Find answers to common questions about these units covering control options, designs, safety, and more.
Wall mounted electric radiators convert electricity into heat using internal heating elements, distributing warmth evenly across the room. They offer precise temperature control and are energy efficient, making them a cost-effective choice.
Control wall mounted electric radiators using a built-in thermostat, remote control, or smartphone app. These options allow you to set and adjust temperatures easily, ensuring comfort and energy efficiency.
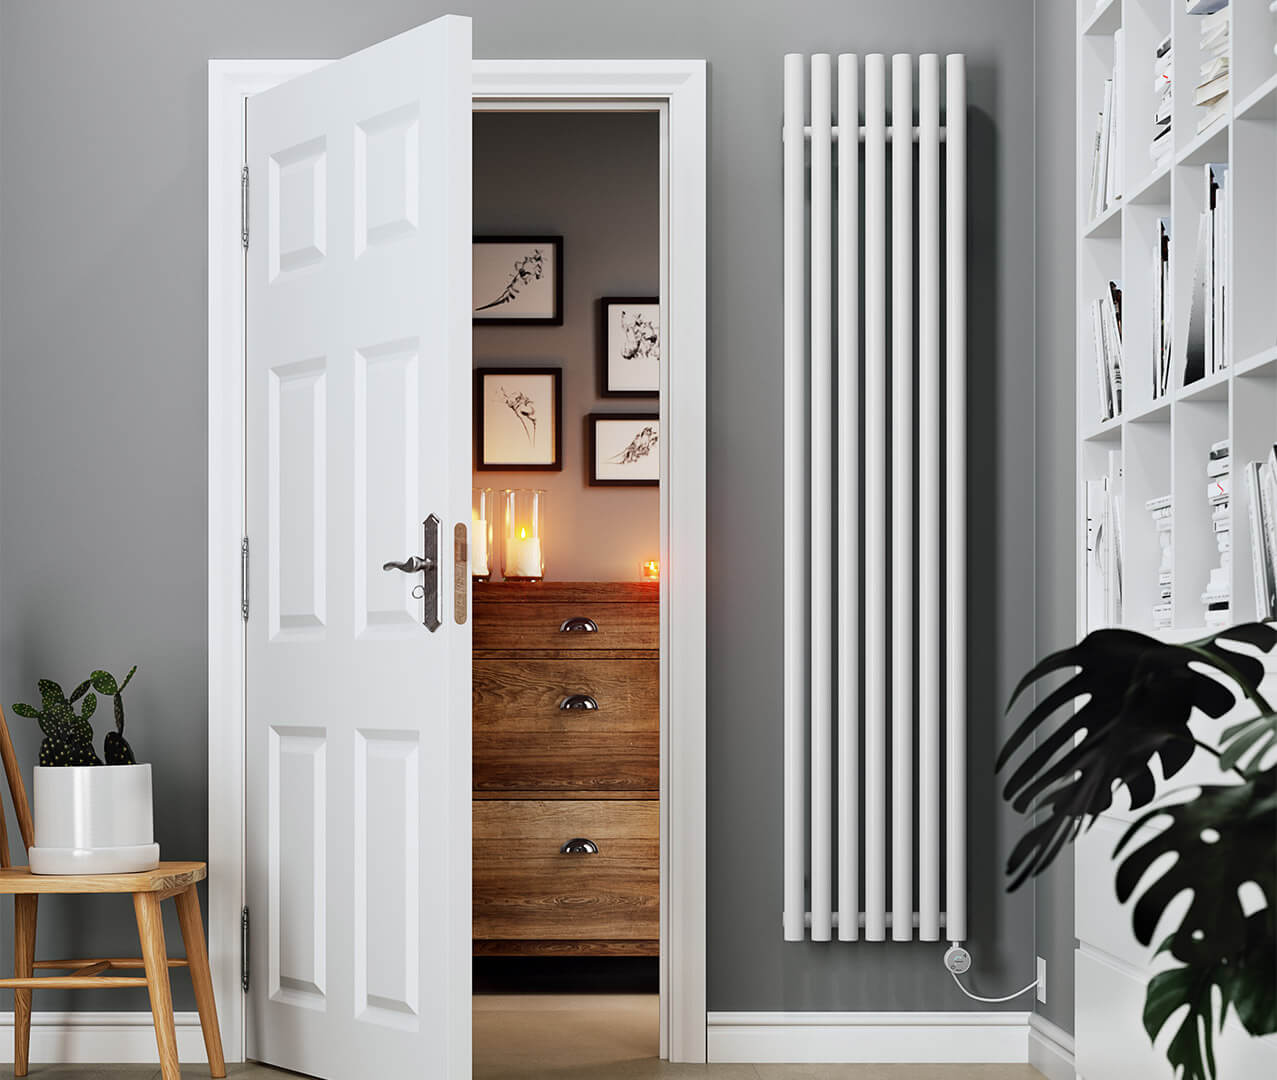
These radiators work well in living rooms, kitchens, bedrooms, bathrooms, hallways, and even offices. Placing them in key rooms ensures optimal heat distribution and space-saving benefits.
They are highly energy efficient, with precise temperature control and minimal heat loss. These radiators maintain a consistent temperature, reducing energy waste and lowering heating costs.
Yes, they operate quietly, unlike traditional heaters that can be noisy. This makes them ideal for bedrooms and offices where silent operation is essential.
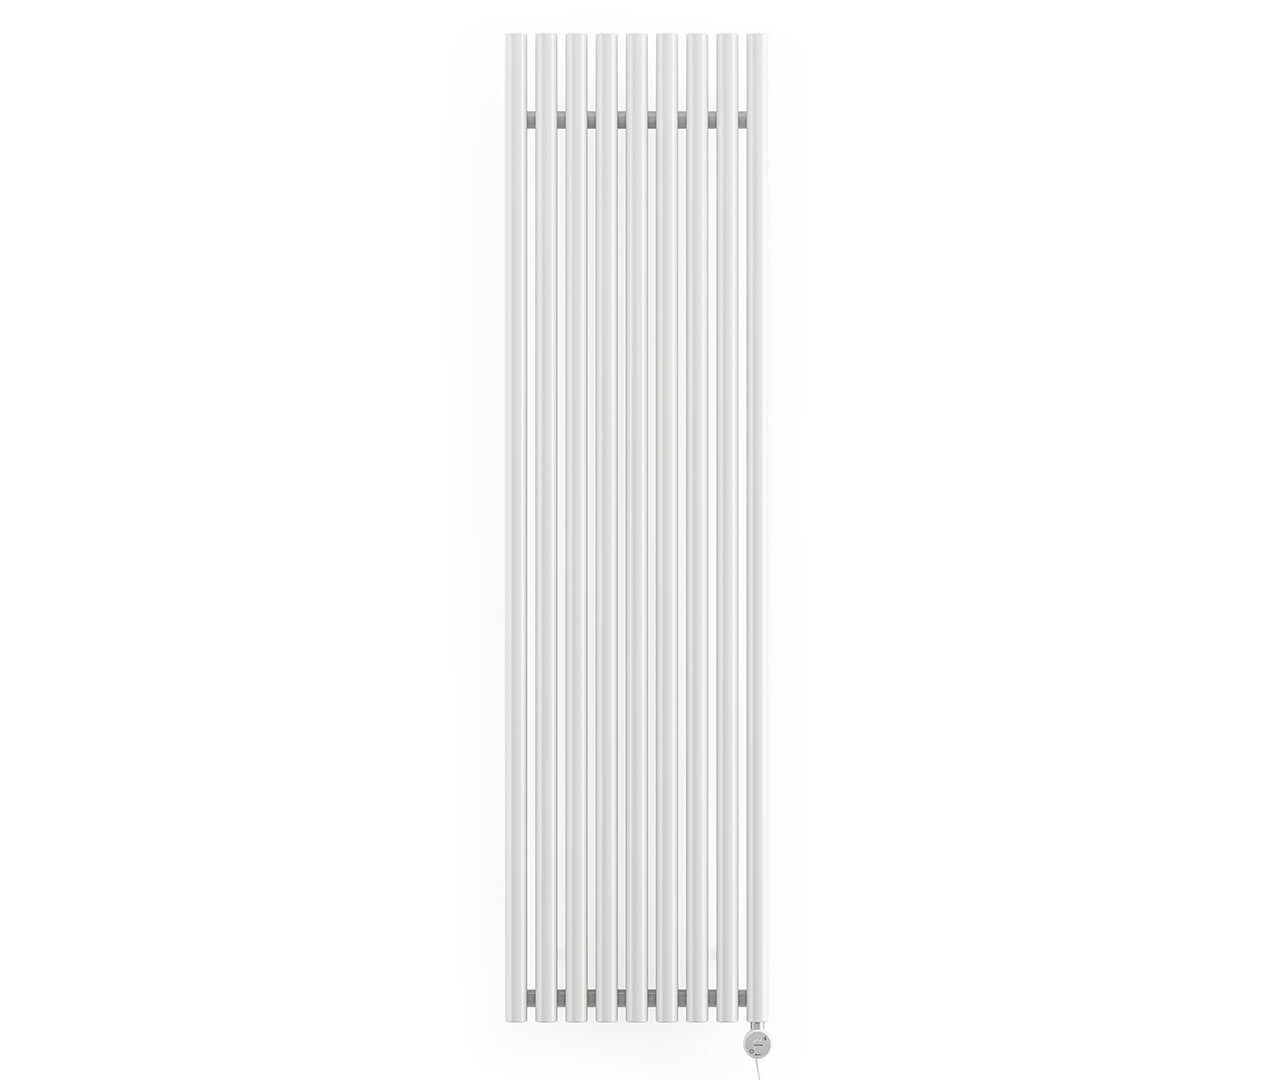
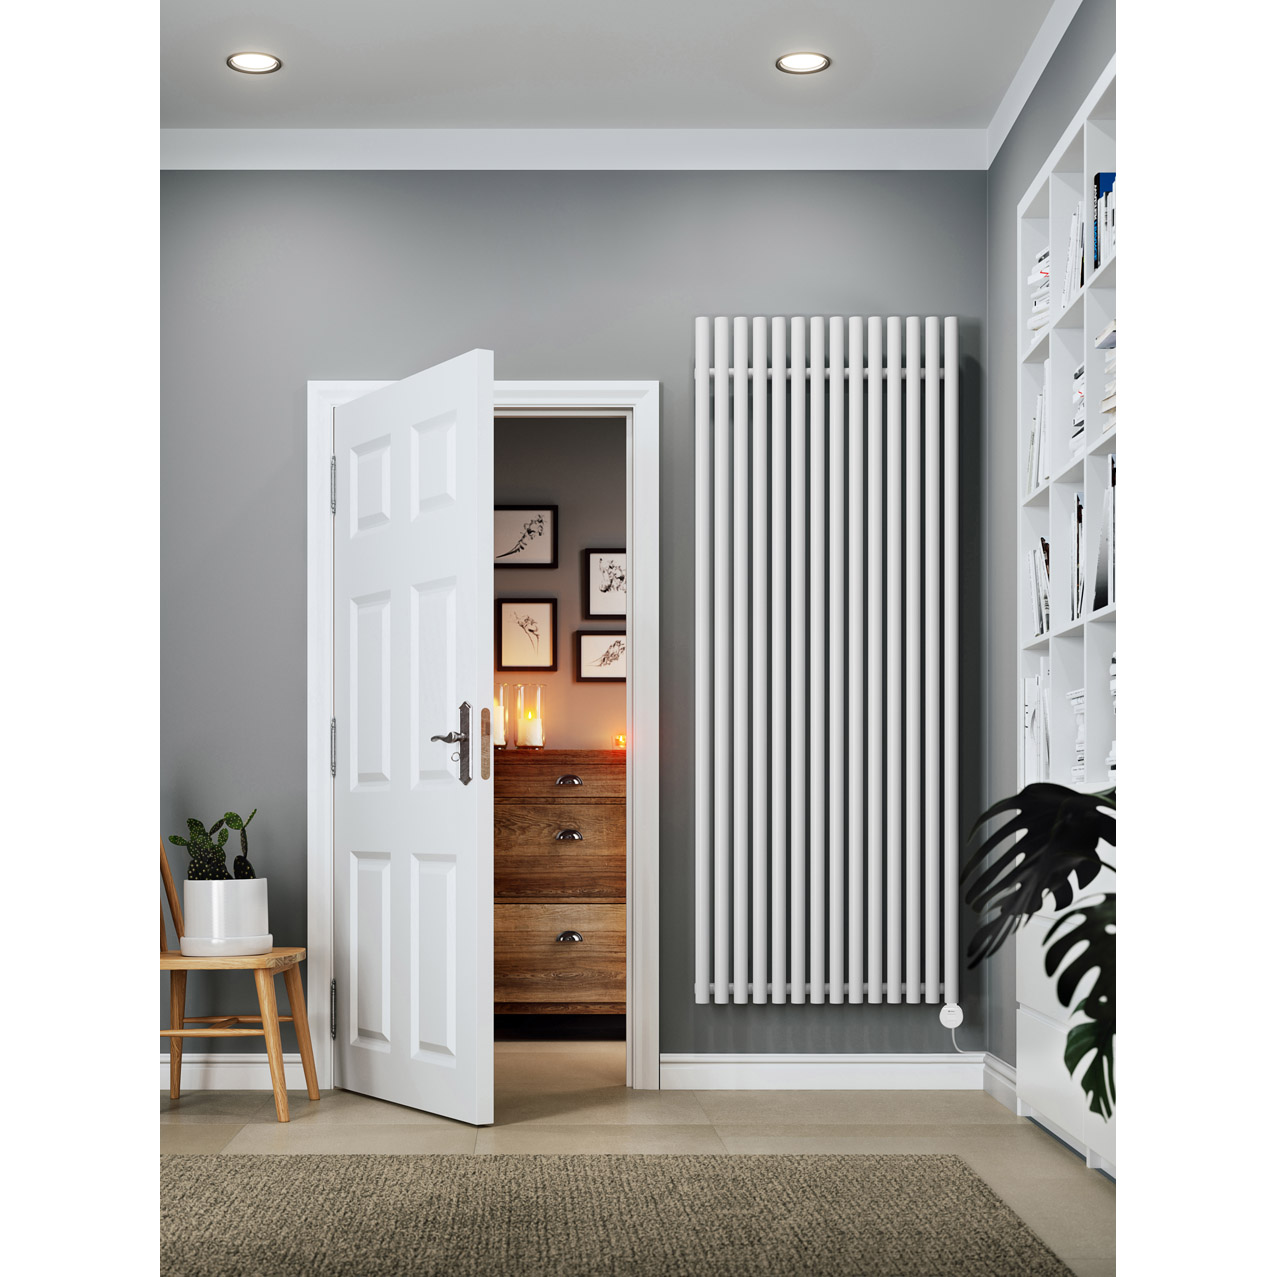
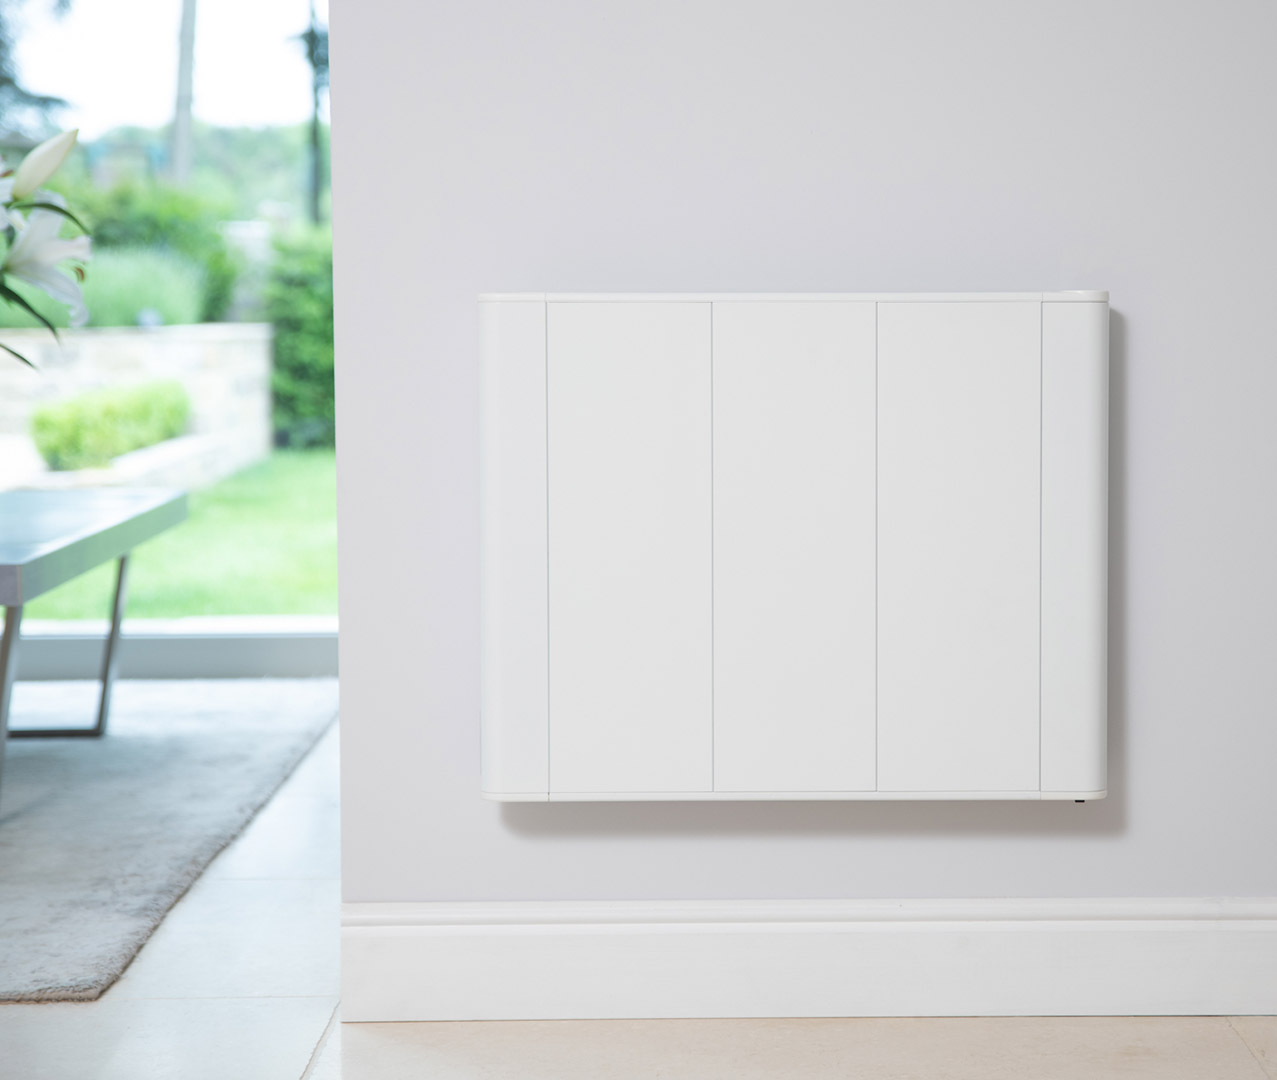
Yes, we offer slim electric radiators. These models are as slim as 51mm, perfect for narrow spaces and modern interiors.
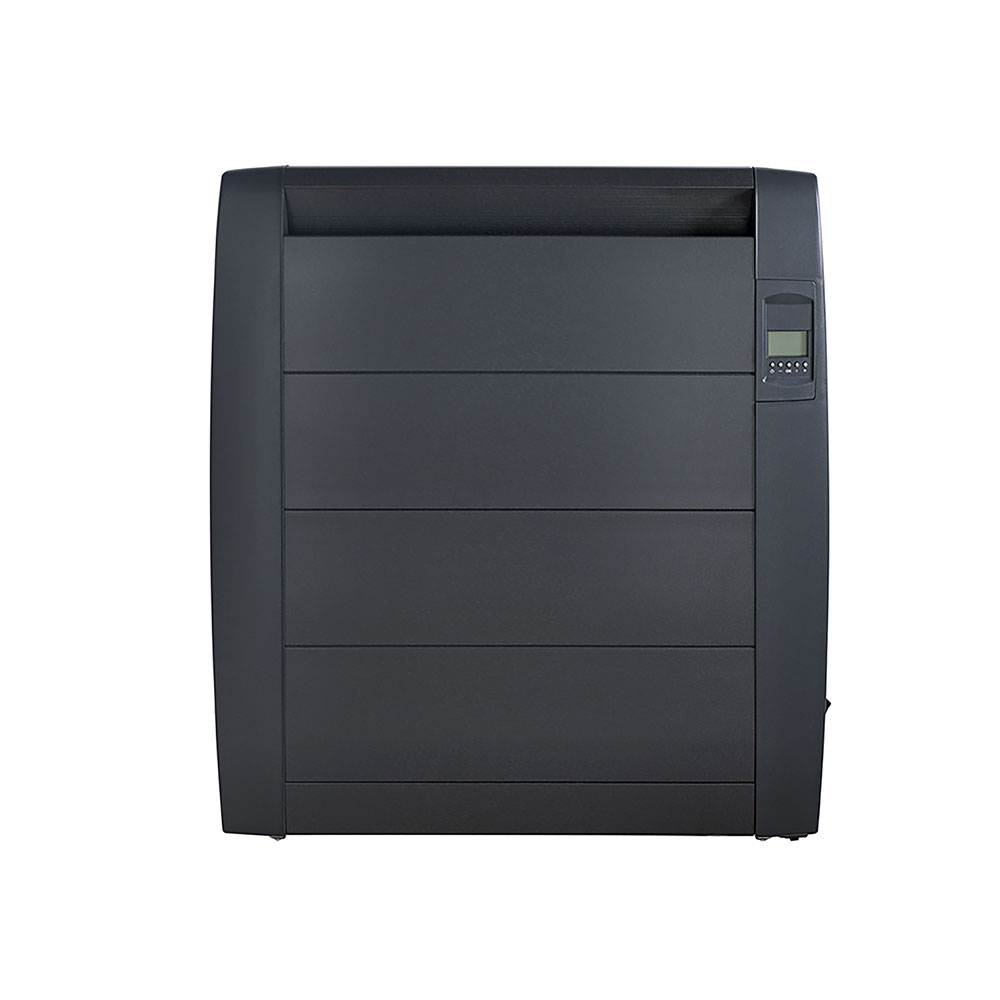
Yes, our collection includes designer electric radiators mounted on the wall. They come in various colours and styles to complement any modern interior.
Yes, it is safe to leave a wall mounted electric radiator on all night. These heaters have safety features like overheat protection and thermostats to ensure safe operation.
Yes, each wall mounted electric radiator can be controlled individually. This allows you to set different temperatures in each room for customised comfort.
Our wall mounted electric radiators combine modern design with high energy efficiency, making them perfect for any home. They’re easy to install and offer precise temperature control, ensuring maximum comfort.
With smart technology features, our radiators give you full control of your heating system. Plus, we back our products with reliable customer support and strong warranties for added peace of mind.
We offer comprehensive warranties for our products. Read more about Best Electric Radiators warranties.
Customers have a wide variety of bestselling electric radiators to choose from including various sizes.
Our radiators ensure long-term performance and reliability. Discover more about our long-term reliability.
Our products offer competitive pricing, discounts, and loyalty programs. Check out our electric radiators’ direct discount code.
Our brand has had the best electric heating experts since 2014. Learn more about our electric heating company.
As the electric heating company since 2014, Best Electric Radiators experts provide expert advice to clients on selecting energy efficient electric radiators for maximum performance and cost savings.
We offer easy and convenient delivery options. Details available on electric radiator delivery.
Based on Best Electric Radiators reviews, many clients praise the best electric radiators brand for high quality electric radiators and excellent customer service.